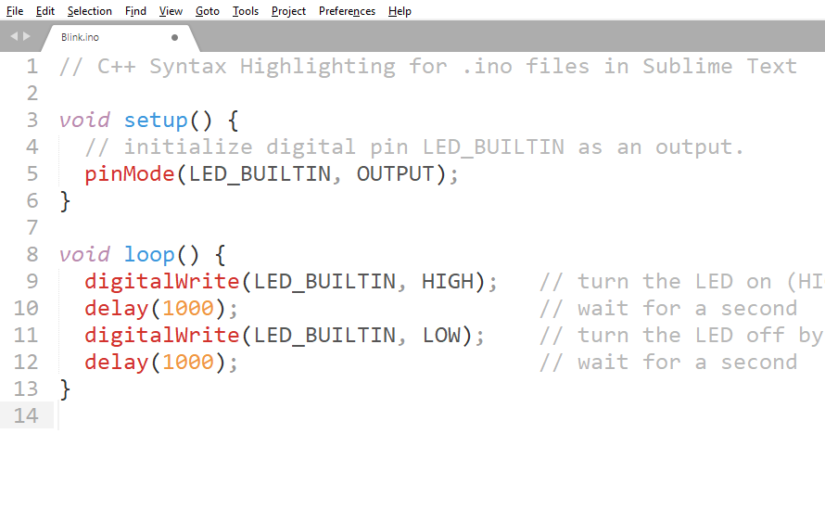
Whenever I program an Arduino based project I would always use Sublime Text as my editor then compile and upload using the Arduino IDE. I prefer using Sublime Text as my Arduino Sketch editor as it gives more flexibility on color highlighting.
This post is a tutorial on how to use Sublime Text as an External Editor. It also answers the why, advantages and disadvantages of using External Editor.
In case you prefer to use Atom Text Editor or Visual Studio Code than Sublime Text then you may still do so by opening your code on Atom Text Editor.
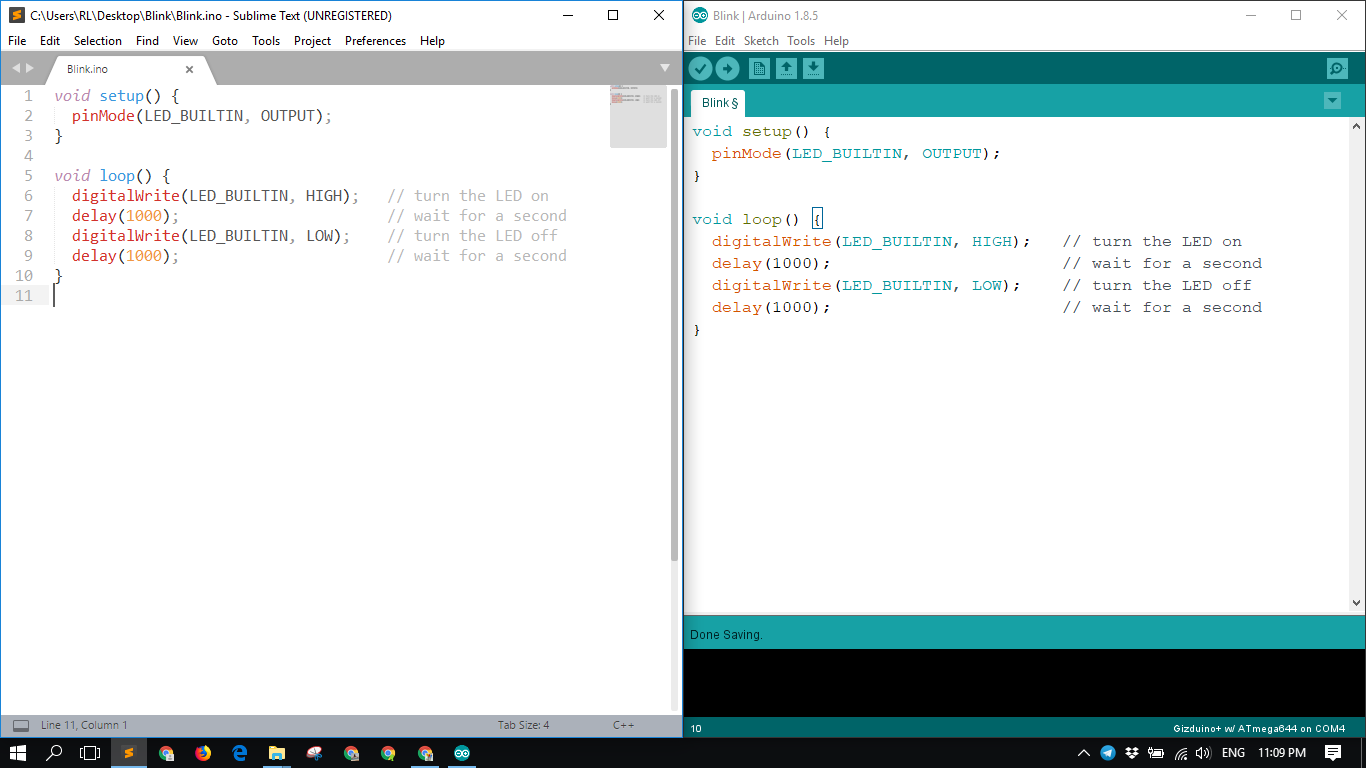
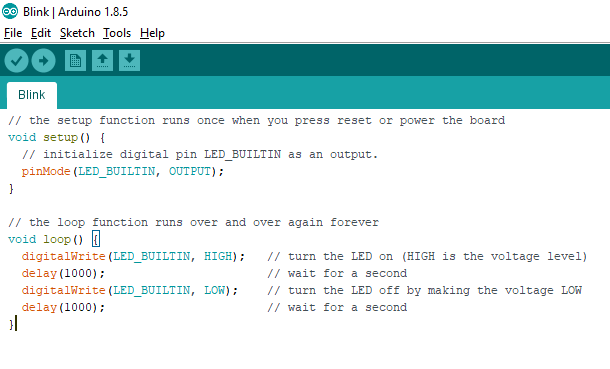
Both editors are showing the same stripped down version of the Blink code.
- Using an External Editor without setting the Arduino IDE properly
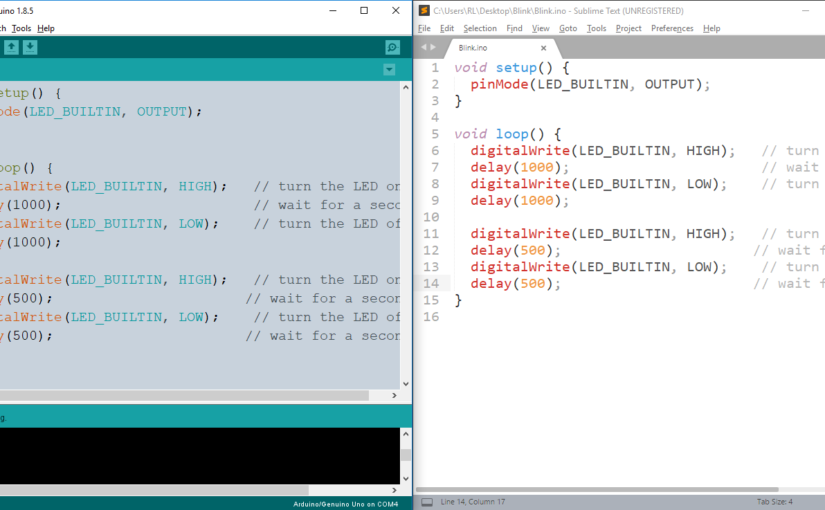
- How to use an External Editor in Arduino IDE
Continue reading Using an External Text Editor in Arduino IDE