How to Install Group Policy Management Tool in Amazon Workspaces Windows 10

Group Policy Management Console is one of the tools needed to do Active Directory Administration, especially if you want to control what Amazon Workspaces can do.

This is the same program that is launched when you run the command gpmc.msc on Windows Run.

To install Group Policy Management in Amazon Workspaces Windows 10, follow the tutorial below.


Steps to Install Group Policy Management

Open Start Menu, then click Server Manager.

Click Add roles and features. The Add Roles and Features Wizard will be opened.

Continue reading How to Install Group Policy Management Tool in Amazon Workspaces Windows 10

Gizduino Patch Installation in Windows 10

There are two ways to install Gizduino in the Arduino IDE. One I have already written here, and the next method is written on this post. Personally, this is my favorite method of installing Gizduino as it shows a better description in selecting the Gizduino Boards in the Boards Menu.

Note: The steps below can also be used for Windows 7 and Windows 8.

If you are wondering how to install Gizduino in Windows then just follow the steps below.

1. Install the latest version of the PL2303 Prolific Driver for Windows

http://www.prolific.com.tw/US/ShowProduct.aspx?p_id=225&pcid=41

2. Download and Install the latest Arduino IDE release

Link to the Arduino Software: https://www.arduino.cc/en/Main/Software

Arduino IDE Windows Installer

Author’s Notes:

As of writing the latest Arduino IDE is 1.8.5. I prefer to download the non-install version (160 MB download). Just unzip on your preferred location on your drive, run the arduino.exe and wait for the Arduino IDE to initialize.

When unzipped it occupied around 399 MB of space in your drive. Then you can delete the zip file once unzipping was finished. Continue reading Gizduino Patch Installation in Windows 10

Raspberry Pi: Installing Raspbian Without a Monitor or Keyboard

Here is a tutorial on how you can setup Raspberry Pi without a mouse or a keyboard.

Most of us today only have laptops. We do not own a monitor nor a keyboard. But that should not stop you from trying Raspberry Pi. You can actually setup and use a Raspberry Pi without the monitor or a keyboard.

Note: I also find it annoying to setup a lot of wires just for the monitor and keyboard.

Here are the things you need to setup and use the Raspberry Pi without a screen or keyboard.

  • Raspberry Pi
  • microSD Card (minimum of 8GB)
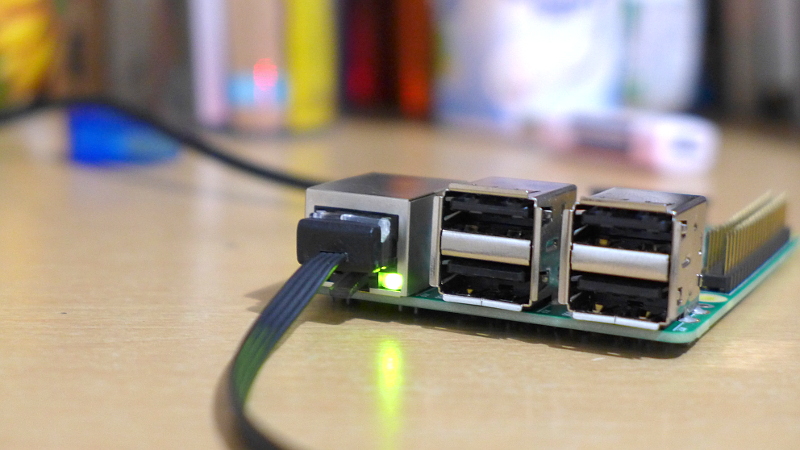
  • Ethernet Cable
  • Power cable (standard USB cable for charging Android phone with charger)
  • A computer

For this tutorial I’ll be using Raspberry Pi 3 and my computer is running on Windows 10. My SD Card size is 8GB. Maybe I’ll create a tutorial when I am using my Ubuntu (Linux).

Below are the steps to setting up your Raspberry Pi without a screen or keyboard.

1. Download Raspbian Image from Raspberry Pi Downloads.

Raspbian Download Page - Setup Raspberry Pi without a Monitor or Keyboard

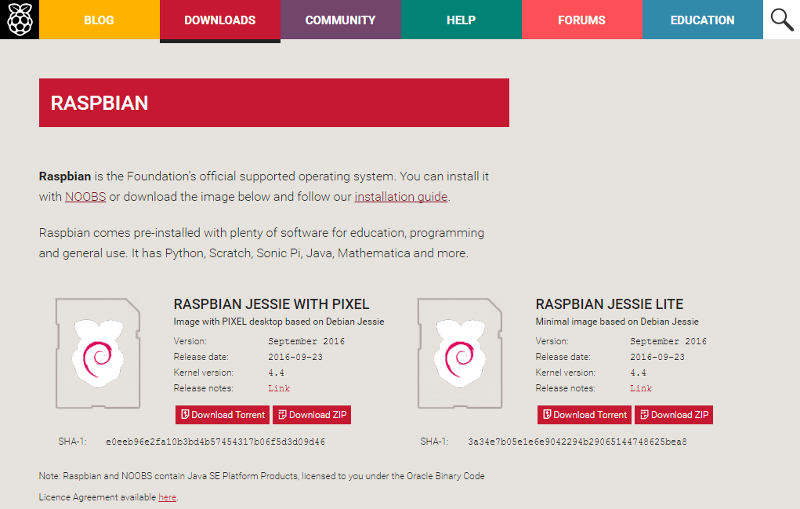
It’s up to you if you want to download the Raspbian Jessie with Pixel (desktop) or Raspbian Jessie Lite (for minimal installation).

For this example I will be using the Raspbian Jessie with Pixel. But if you want to install the Raspbian Jessie Lite the steps would be the same.

Note: The name Jessie changes for every major upgrade of Raspbian. The name before it was Wheezy. Continue reading Raspberry Pi: Installing Raspbian Without a Monitor or Keyboard