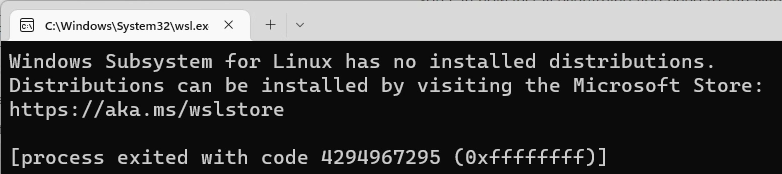
If you are using multiple user accounts in your Windows computer and have installed Windows Subsystem for Linux (WSL) in one of your users, when you try to run WSL in another account you will encounter the WSL has no installed distributions error.
If you try going to another Windows profile, you will end up with the same error.
I recently found out that I could connect my Google Nest mini to Windows as a speaker. So in this tutorial, I will guide you on how to connect your Google Nest to your Windows 11 laptop/desktop as a speaker.
The steps also include how to solve the issue of Windows 11 not showing Google Nest as a speaker even though it is already added as a Bluetooth device.
I used a Google Nest Mini to connect to Windows 11 below. The instructions should be the same regardless of your Google Nest speaker model.
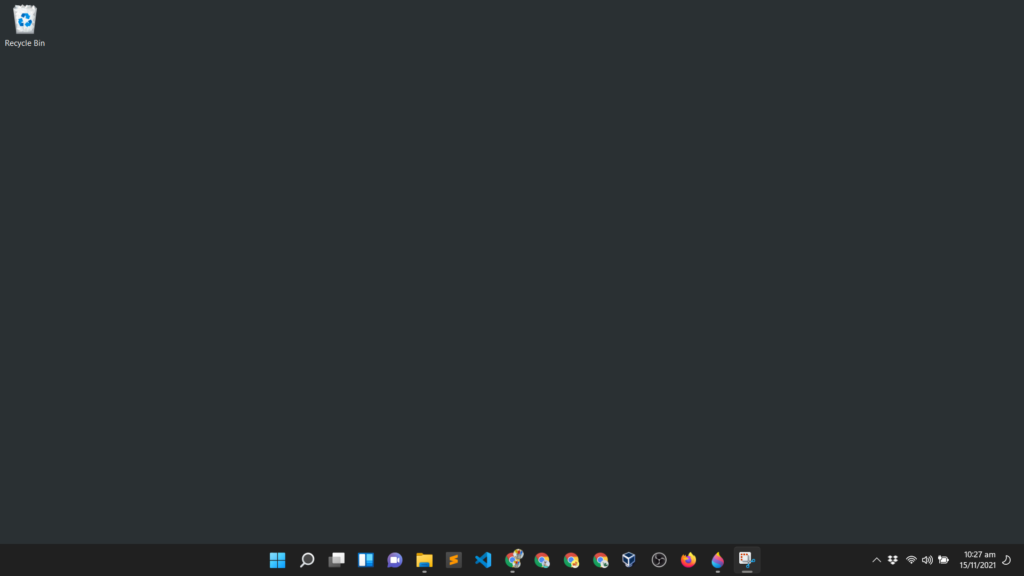
When I switched to Windows 11 I had to adjust to the changes in the Taskbar. One of the things that I do not find useful is the Widgets and Chat icon in the Taskbar.
If you want to remove the Widgets and Chat icon in the Taskbar follow the steps below.
Nowadays, websites can know which version of Windows you are running and would only give you one link to download the installer. Sometimes, it is not that easy like how I installed Visual Studio Code for all Users in Windows which gave me lots of options, Windows, Linux, Mac, 32-bit or 64-bit versions.
It is important to download the correct version of the installer or else it might not work correctly with your system.
To see what architecture your Windows Operating System is running, see the different ways below.
3 ways to check if your Windows Architecture is 64-bit or 32-bit
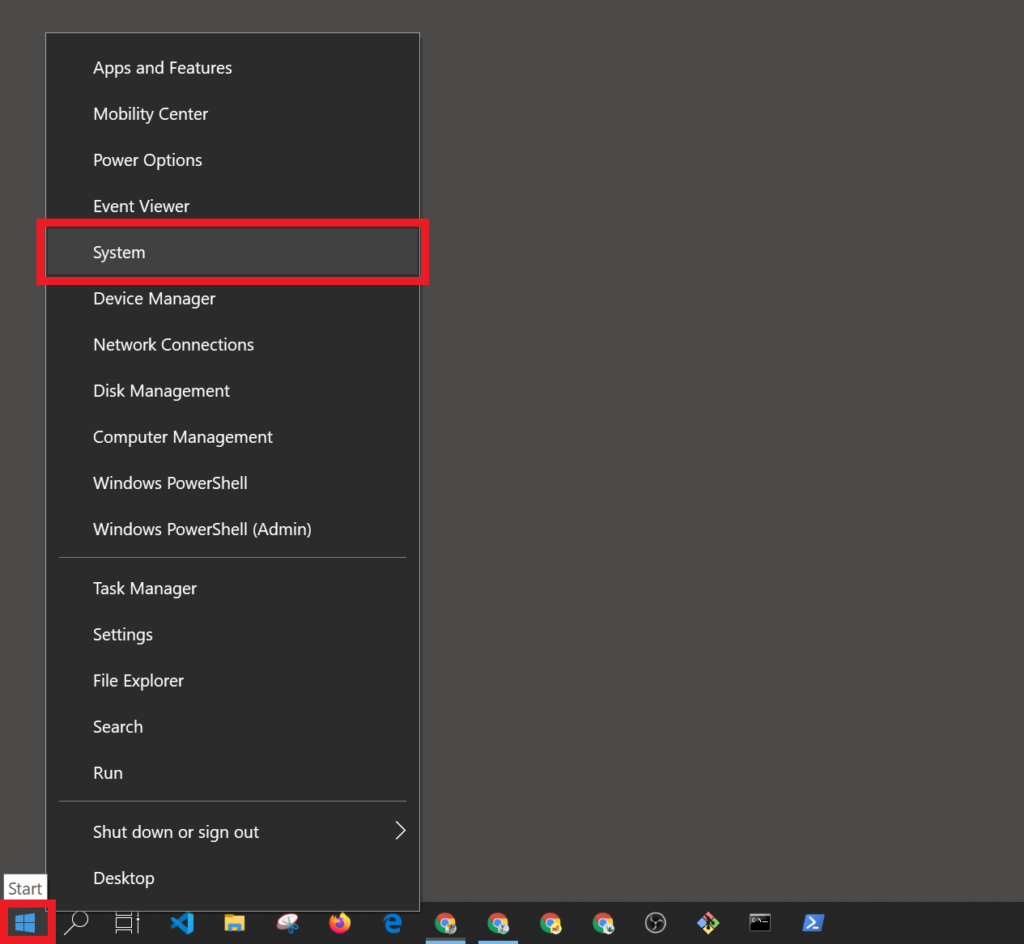
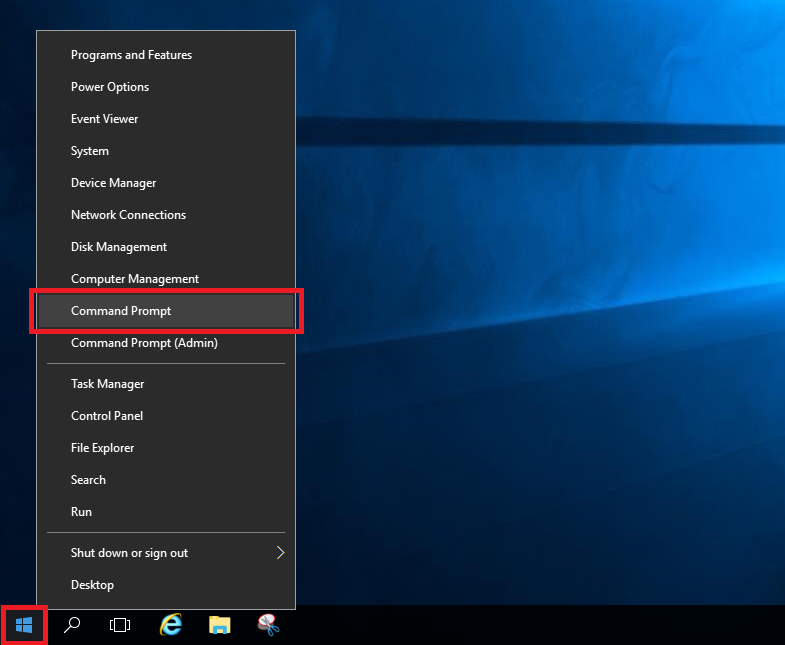
To check if your running a Windows 64-bit or 32-bit, right-click on the Start Button (Window button on the lower left of your screen) or on your keyboard click Window+X.
Then click System.
This will open a Settings window that shows details about your computer.
I am trying to install Visual Studio Code for all users in Windows but it always installs for a single user. Is there a way to install it one time and it is installed for all users?
Yes, there is a way to install Visual Studio Code for all users in Windows.
TL;DR – Download the System Installer here and install.
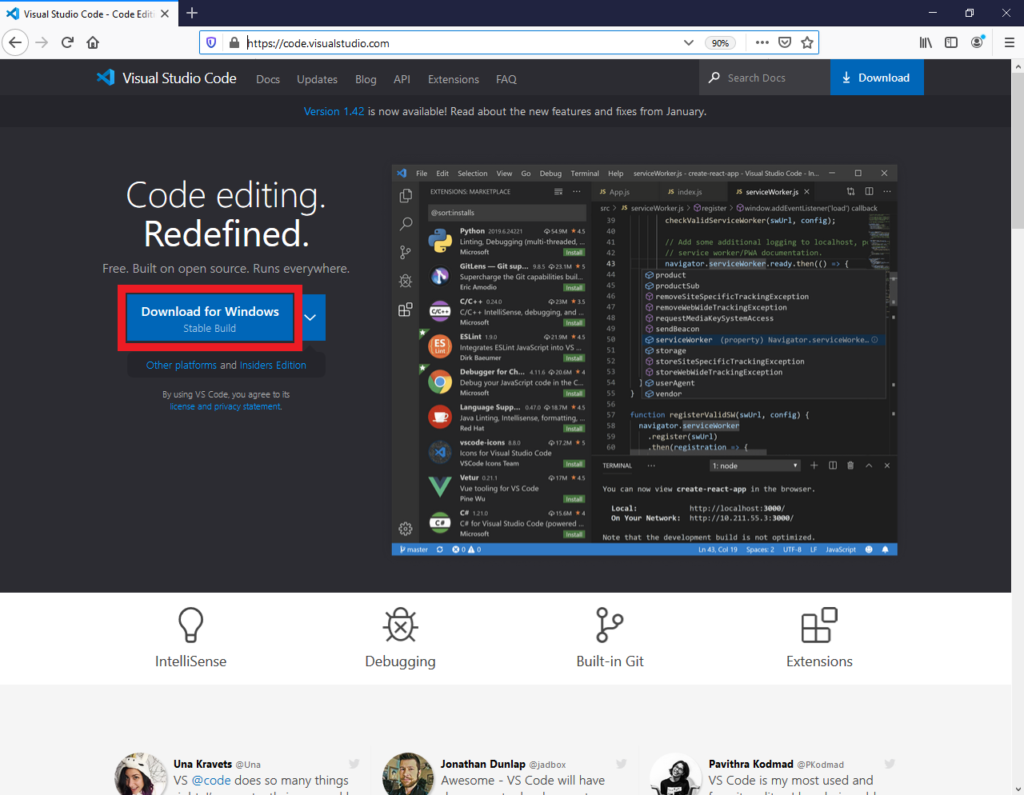
Visiting the website of Visual Studio Code (code.visualstudio.com) and pressing Download for Windows will download the installer for a single user in Windows.
What if you have multiple users in your Windows computer like me? I have a different User Accounts for different projects and different use cases. I had to install for different users.
Follow the tutorial below to install Visual Studio Code for all Users.
When I create Windows Instances in AWS EC2, I usually forget to add a drive or two. With this step-by-step tutorial, I will walk you through how to create a new Volume for EC2 Instances, then make Windows use the new Volume without a reboot.
Initial Setup
Creating and Attaching the Volume in AWS EC2 Console
Adding the new Volume to Windows System
Initial Setup
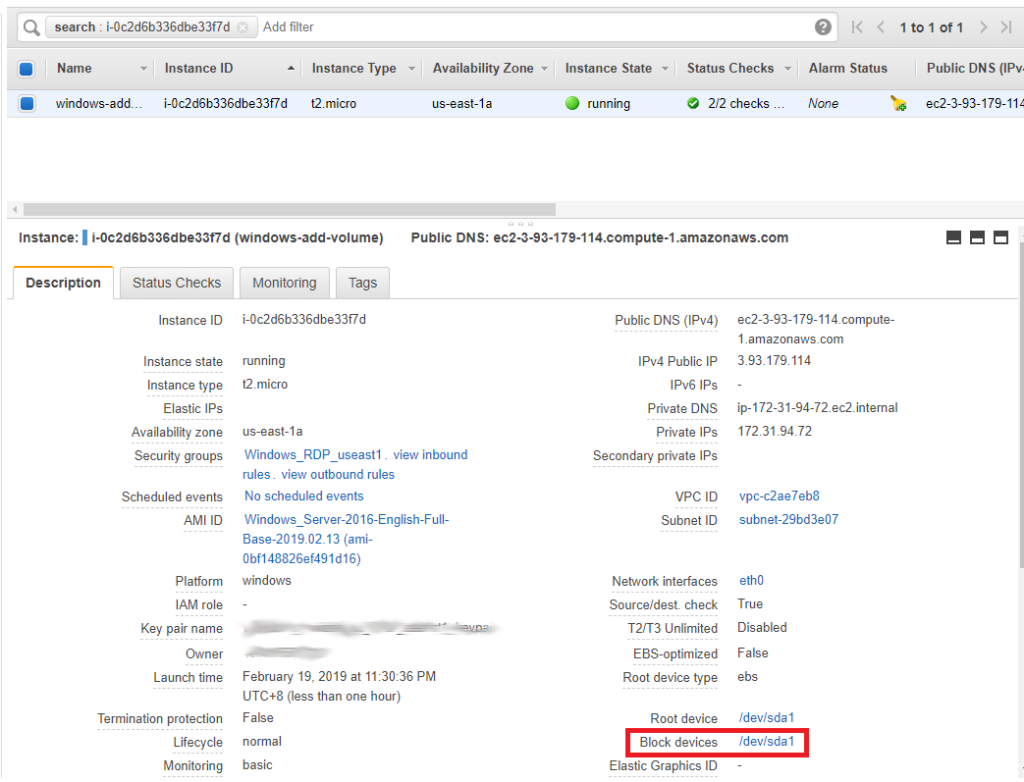
I launched a EC2 Windows 2016 Server with only 1 Block Device (/dev/sda1), which is also my Root Device.
AWS EC2 Console
Note the Availability Zone where your instance is located, you will need this later. Mine is in us-east-1a.
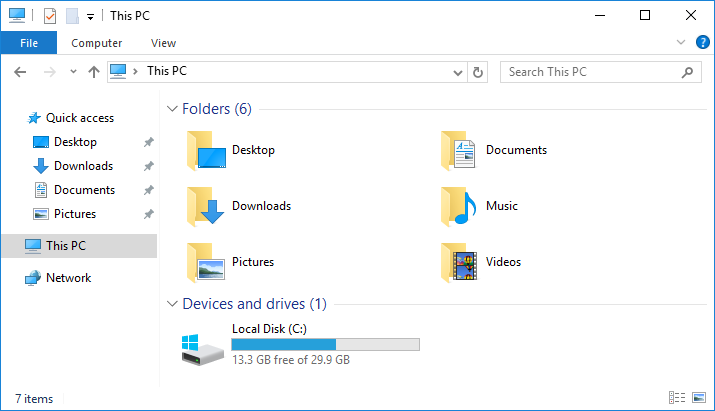
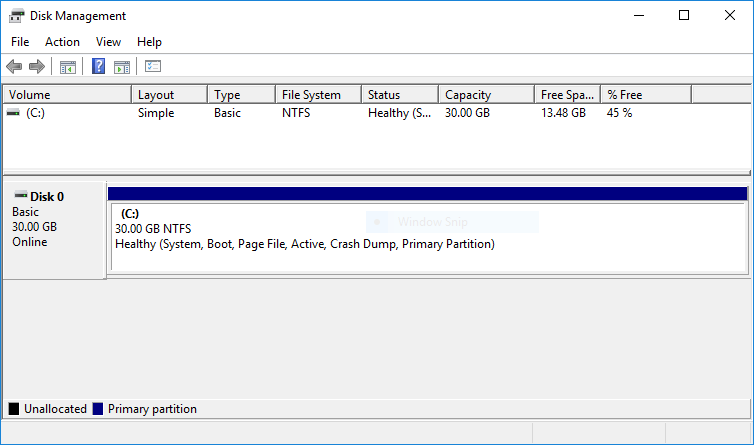
Looking inside Windows it only has 1 volume.
File ExplorerDisk Management
Creating and Attaching the Volume in AWS EC2 Console
Now we need to attach a new Volume for our Windows Server.
Go to AWS EC2 Console, on the left sidebar click on <strong>Volumes</strong>.
After setting up an Active Directory (AD) on our Windows Server it is advisable to have another server to be a Secondary Active Directory Domain Controller to become the failover for Active Directory in case something happens to the first AD Server.
Below is a detailed tutorial on how to properly set up a Secondary Active Directory Domain Controller on Windows Server 2016.
Note
Primaryrefers to the first Windows Server that we setup Active Directory with.
Secondaryrefers to the the Second Windows Server we will set Active Directory. This is what we will setup here.
The very first thing I do after installing Active Directory (AD) on Windows Server is to change the password of my AD Administrator. I do this because I use Amazon Web Services (AWS) EC2 as my servers and AWS automatically generates the password for my Windows Server.
The AD Administrator is a very powerful user for Active Directory as you can restrict or open capabilities to other users and computer, install/uninstall programs and can even shut down any member computer using the Admin user. That is why you should really keep your AD Administrator User password in a safe place.
Whatever the reason you have for wanting to change the password of your AD Administrator below is a step-by-step tutorial on how to change it.
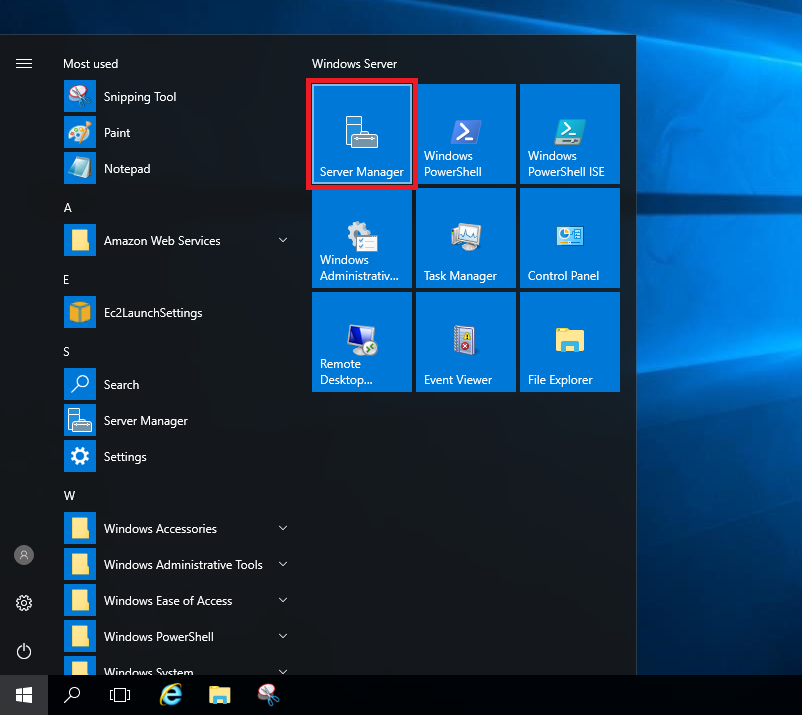
Login to your Windows Server.
Click on the Window Icon on the bottom-left and click on Server Manager.
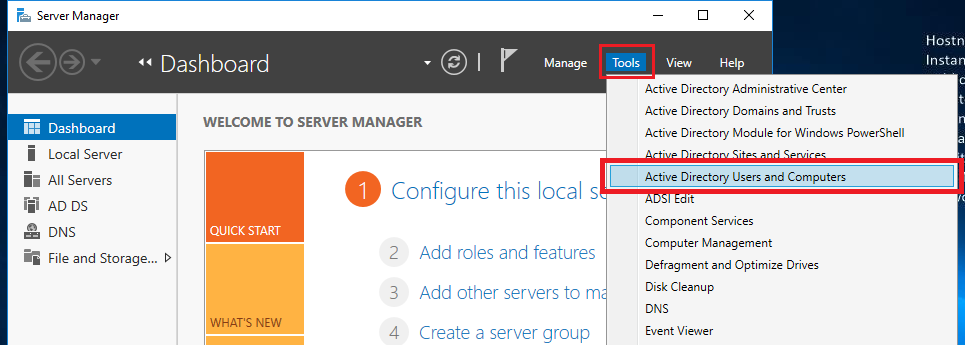
Click on Toolsthen Active Directory Users and Computers.