After setting up an Active Directory (AD) on our Windows Server it is advisable to have another server to be a Secondary Active Directory Domain Controller to become the failover for Active Directory in case something happens to the first AD Server.
Below is a detailed tutorial on how to properly set up a Secondary Active Directory Domain Controller on Windows Server 2016.
Note
Primary refers to the first Windows Server that we setup Active Directory with.
Secondary refers to the the Second Windows Server we will set Active Directory. This is what we will setup here.
Here are the major steps that we need to do
Setup
- Primary: Get the IP Address of the Active Directory Domain Controller
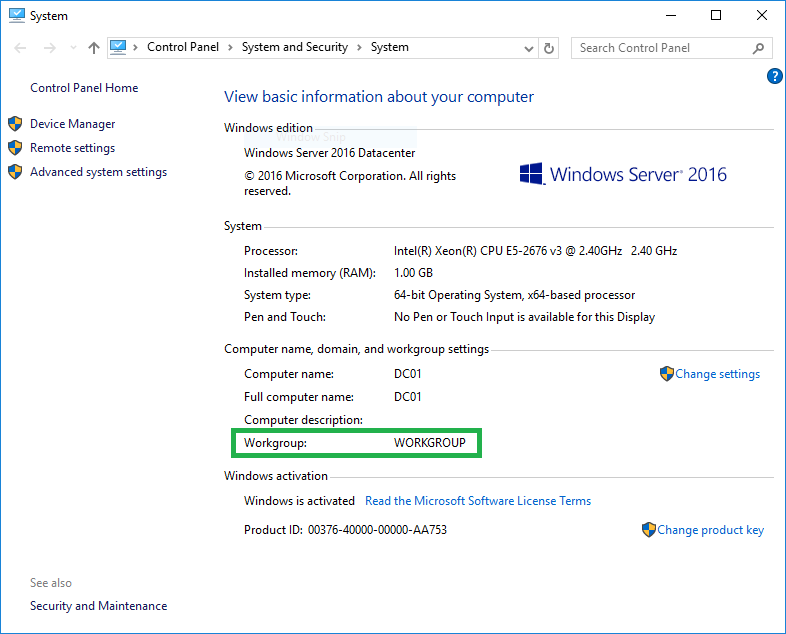
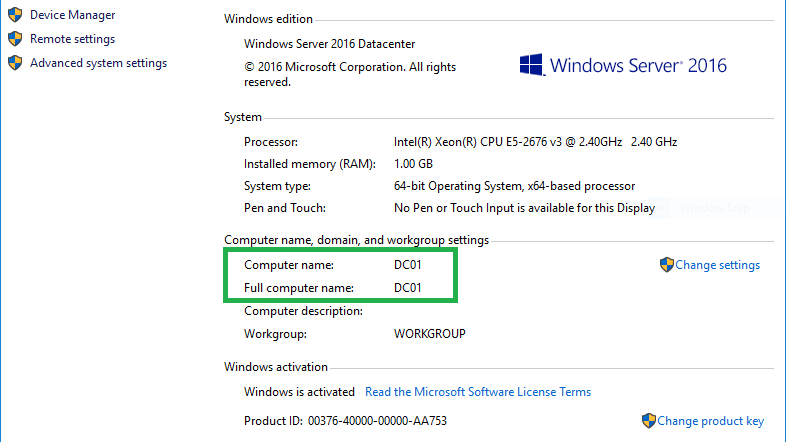
- Secondary: Change the Computer Name of the Windows Server
- Secondary: Update the DNS Server Address
- Secondary: Install Active Directory Feature
- Secondary: Promote Server to a Domain Controller
- Secondary: Get the IP Address of the Active Directory Windows Server
- Primary: Update the DNS Server Address
Testing
- Secondary: Login using the Active Directory Administrator
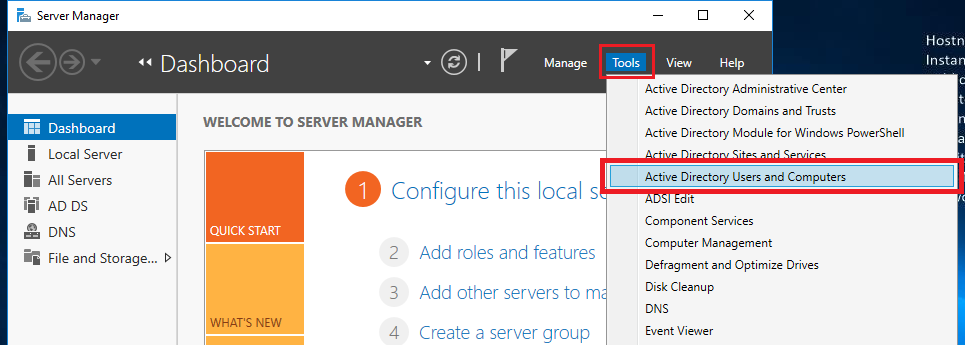
- Secondary: Check Active Directory Users and Computers
- Secondary: Check DNS
Setup
Primary: Get the IP Address of the Primary Active Directory Domain Controller
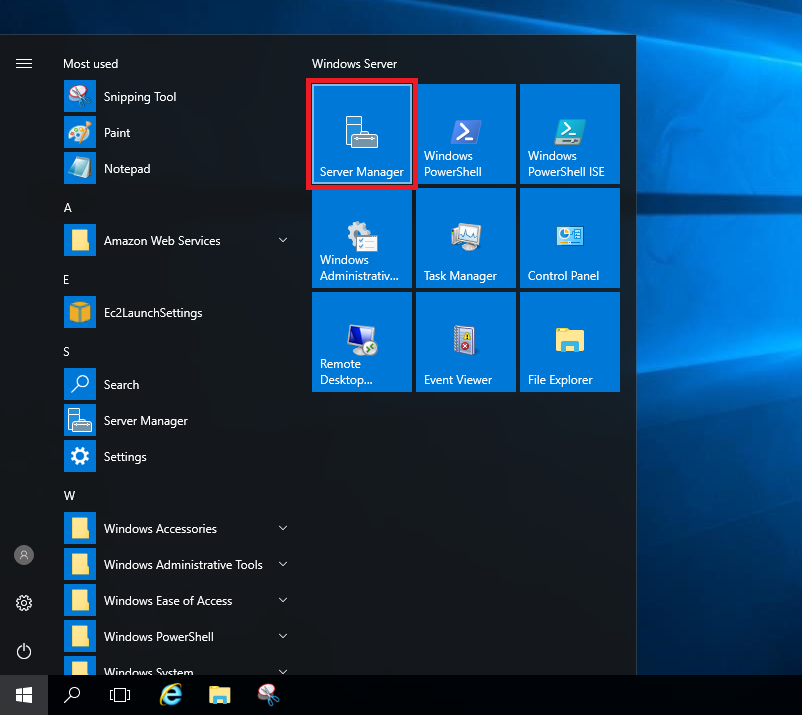
Login to your Primary Active Directory Windows Server.
Right-click on the Window Icon on the bottom-left of the screen. Then click Command Prompt.
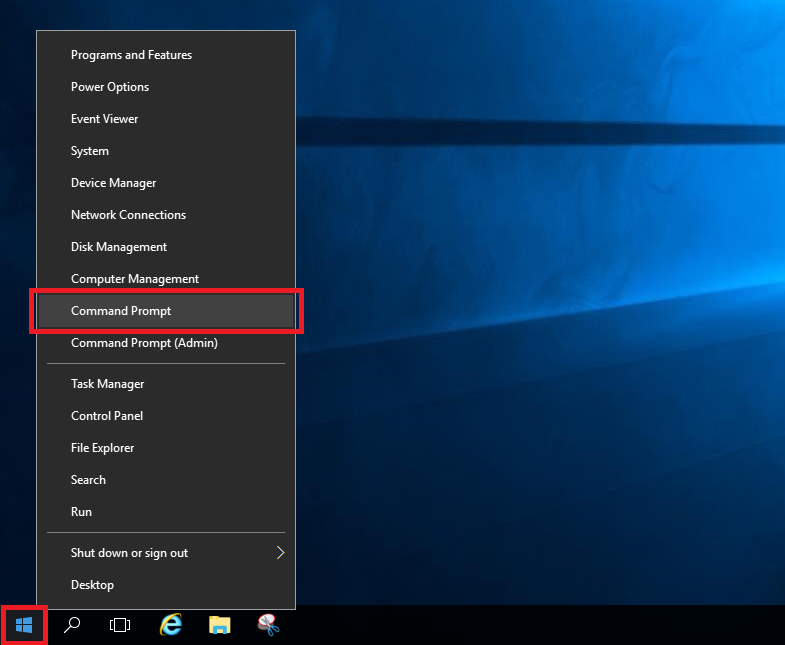
On the command prompt window type ipconfig then Enter.

Note the IPv4 Address. You will need this later on the Secondary Windows Server. Continue reading Adding a Secondary Active Directory Domain Controller on Windows Server 2016