How to connect Logitech M350 Pebble mouse to Windows 11

The Logitech M350 Pebble is so far the best mouse that I have used, and I have used a lot of mouse in my 30 years of existence.

I like it because it is wireless, lightweight, quiet, responds well and does not have ribs in the scroll bar. I can use the mouse the whole day without my hands or fingers getting numb.

Also, it has been a year since I bought the mouse and I have not even changed the battery yet.
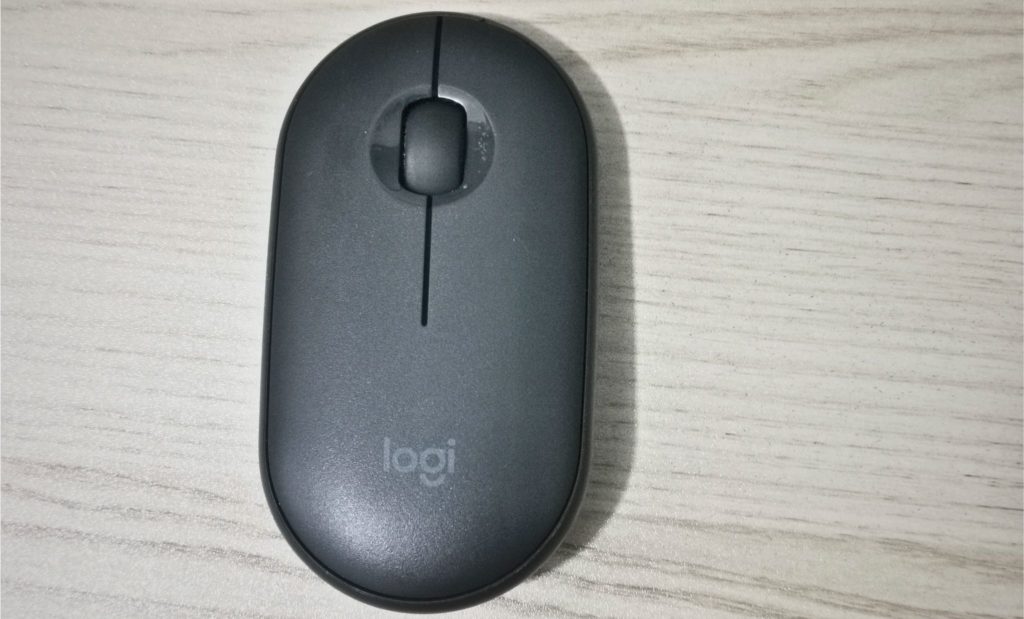
When I first bought the Logitech M350 Pebble I got confused because it says that it has Bluetooth connection. But when I saw the wireless USB dongle, I thought I got tricked. As it turns out this mouse has both – a (1) wireless USB dongle mode and a (2) Bluetooth mode.

Continue reading How to connect Logitech M350 Pebble mouse to Windows 11
How to connect Logitech K380 to Mac (with Screenshots)

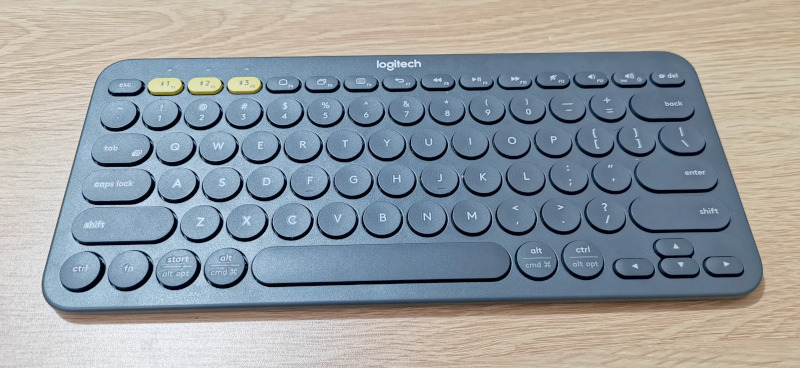
The Logitech K380 Bluetooth Keyboard is so far my most used keyboard. I like how I can switch connection to 3 different computers with a press of the button.

I have connected my Logitech K380 to my Windows laptop and also to a Raspberry Pi.

In this tutorial, I connected the K380 keyboard to a Mac computer. What I used is a Macbook Air, but the tutorial should be the same even if you are using a Macbook Pro or an iMac with an M1 or Intel processor.

Logtech K380 Keyboard

Step-by-Step Instructions on how to connect Logitech K380 Bluetooth Keyboard to Mac

#1

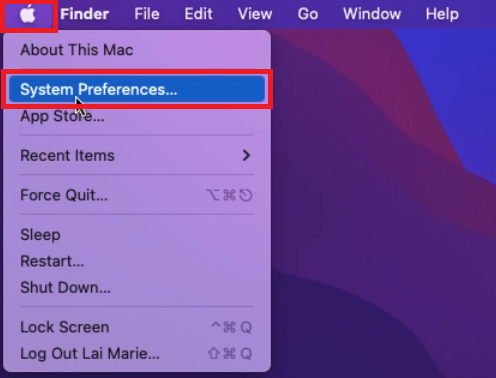
Click on the Apple Menu and select System Preferences…

Continue reading How to connect Logitech K380 to Mac (with Screenshots)

How to connect Logitech K380 Keyboard to Windows 11

The Logitech K380 Keyboard is one of my favorite devices. It gives me fewer wires to worry about by connecting wirelessly via Bluetooth. It can also easily switch between 3 devices by pressing the F1, F2, or F3 keys.

In this article, we will do a step-by-step guide on how to connect your Logitech K380 to Windows 11.


Instruction to Connect Logitech K380 Keyboard to Windows 11

#1

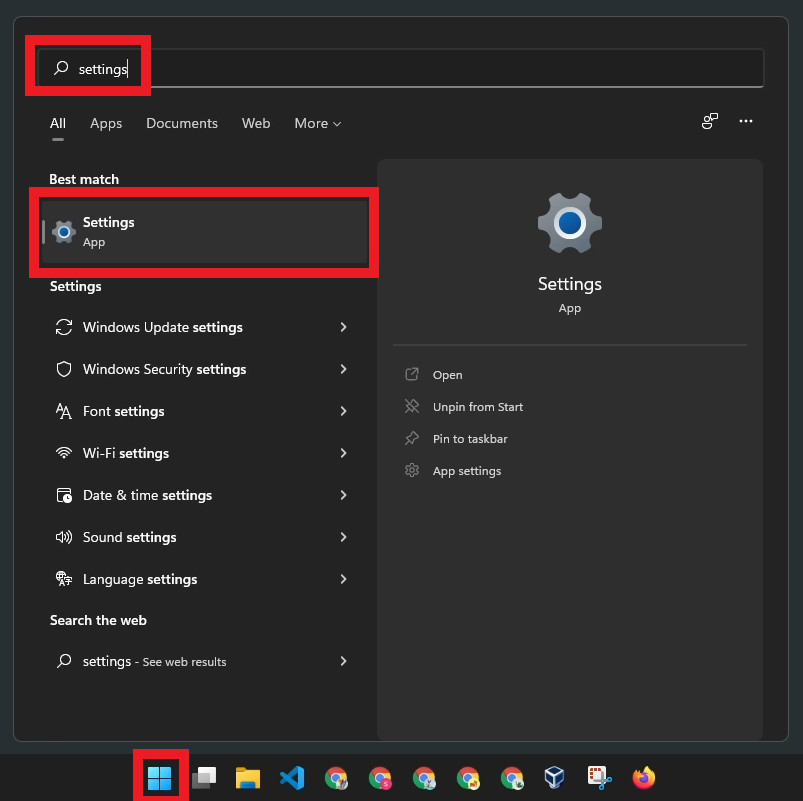
Open Windows Settings by clicking the Start Menu, and searching for ‘settings’. Then click on Settings.


#2

On the left sidebar of the Settings window, click on Bluetooth & devices.

Continue reading How to connect Logitech K380 Keyboard to Windows 11

How to reverse the F-Keys of Logitech K380 Keyboard

I have been using my Logitech K380 Keyboard for about a week now and I’m very happy with it.

I like it because it is quiet, has some weight, and can connect and switch to 3 devices with a press of the button.

When I received it when I press the F-keys, its default behavior is to use alternate functions like control the volume and media.

If I wanted to use F1 or F2 I have to click on the fn key then press the F-key. As someone who uses a lot of the F-keys due to my work, this is annoying.

Luckily, I was able to solve this issue by reversing the behavior of the F-keys. Now when I press the F11 to full screen my chrome browser it will work without pressing the fn key.

I think some people call this process Fn Lock

Follow the instructions below to reverse the behavior of the F-keys.

Continue reading How to reverse the F-Keys of Logitech K380 Keyboard

How to connect Google Nest to Windows 11 as Speaker

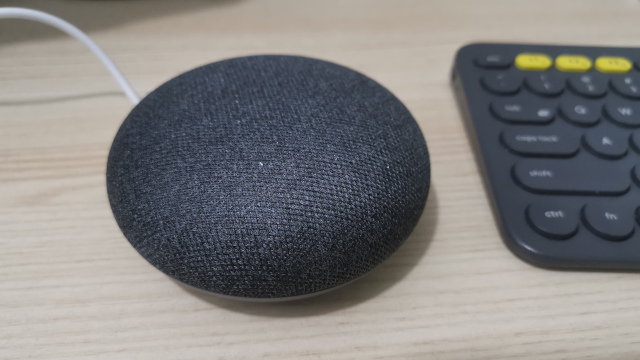
I recently found out that I could connect my Google Nest mini to Windows as a speaker. So in this tutorial, I will guide you on how to connect your Google Nest to your Windows 11 laptop/desktop as a speaker.

The steps also include how to solve the issue of Windows 11 not showing Google Nest as a speaker even though it is already added as a Bluetooth device.

I used a Google Nest Mini to connect to Windows 11 below. The instructions should be the same regardless of your Google Nest speaker model.

Continue reading How to connect Google Nest to Windows 11 as Speaker

Making an SD Card as Permanent Storage in Windows 10

I am using a laptop which only has 32GB for its main storage. Unfortunately, this becomes full quickly if I will be installing a lot of programs and add some cloud storage to it.

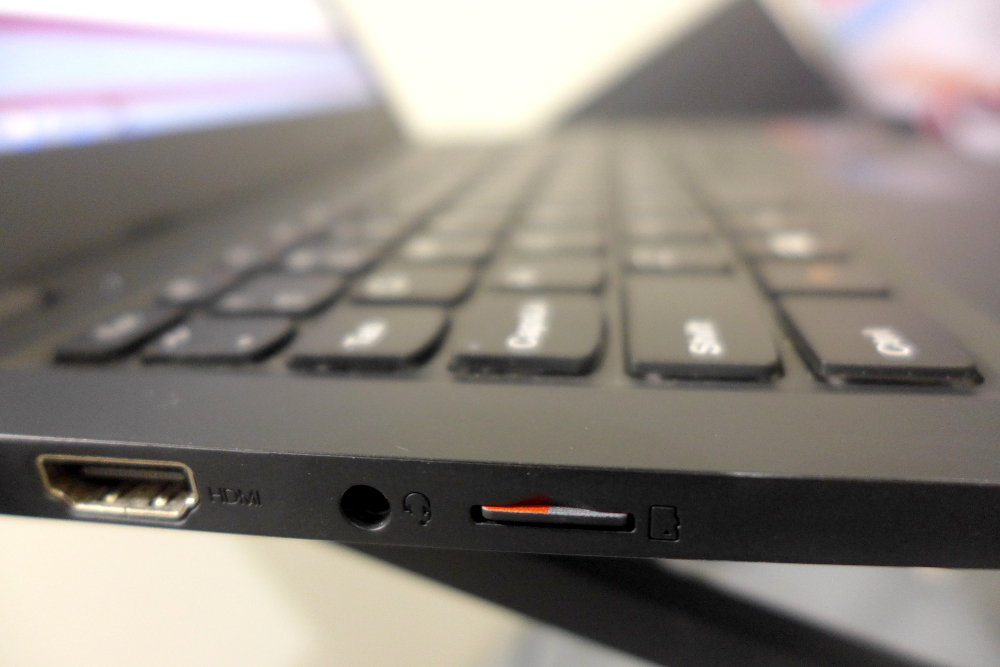
Fortunately, the computer has a microSD Card slot which I can use to expand my storage, but I could not install programs or put my cloud storage directory to it since it is not recognized as a Permanent Storage by Windows.

The microSD Card slot on my laptop

Do not worry, though, there is actually a way to make the Windows see your SD Card as a Permanent Storage. Below are the steps that you need to do.

Note: This tutorial would also work on Windows Tablet who also has the same problems as I have.

1. Make sure that your SD Card is formatted to NTFS

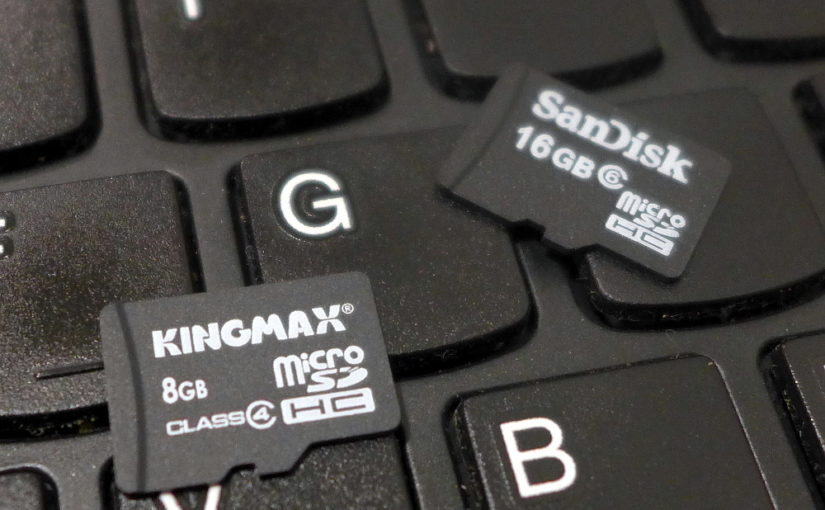
To be able to mount the SD Card as a Permanent Storage it must be formatted to the same file system as your computer’s main storage file system. For Windows 10 case the main file system is NTFS.

Usually SD Cards are formatted in FAT32 but let us check first. Continue reading Making an SD Card as Permanent Storage in Windows 10

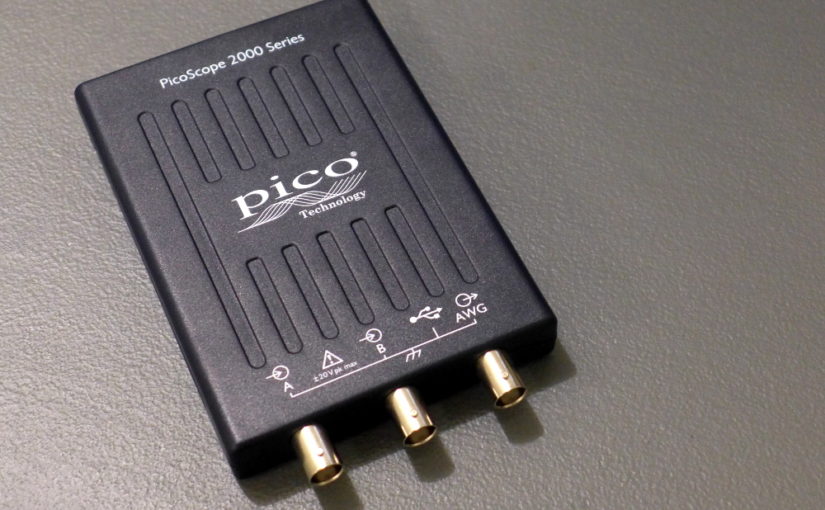
Installing Picoscope on a 32-bit Windows 10 and make it work

I have recently acquired a PicoScope 2205A as I wanted to have a portable oscilloscope that can be connected directly to a laptop. Unfortunately, before I could fully enjoy the features of it I had a major road block due to the PicoScope software not being installed properly on 32-bit Windows 10 computers.

Here are the features that the PicoScope 2205A has.

  • 2 channel probes for the
  • 25 MHz Bandwidth
  • Arbitrary Waveform Generator

The Arbitrary Waveform Generator is one of the reasons I loved the PicoScope 2205A because I no longer have to acquire a signal generator for simple waveforms.

Anyways, I am not here to talk about the PicoScope 2205A but about the problem with installing a PicoScope Software on a 32-bit Windows laptop. Below are the steps to install it properly. Continue reading Installing Picoscope on a 32-bit Windows 10 and make it work