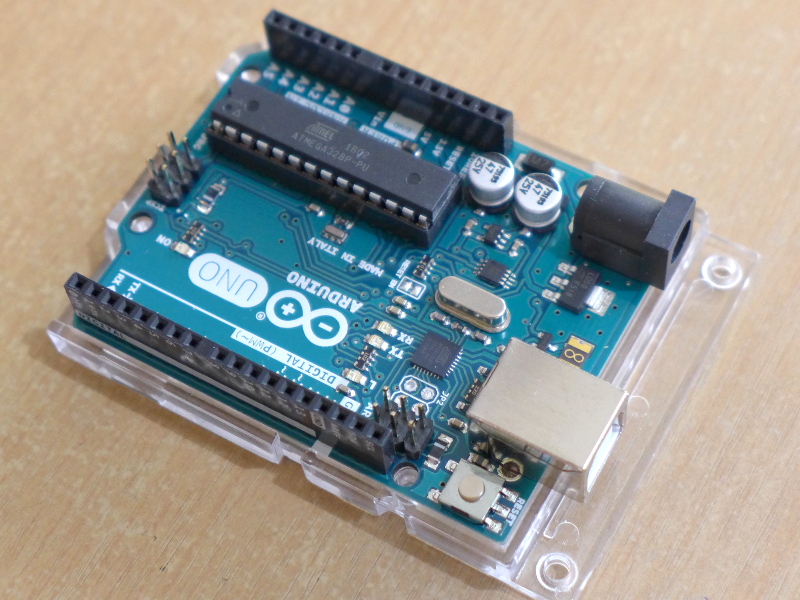
I have always used the Arduino IDE map function but have not been able to use it for float values. With these I have made the MapFloat Library so that I could extend the map function to floating point numbers.
A very useful feature when I want to have decimal places on my map function.
Introduction
A library that contains the mapFloat function which re-maps a floating point number from one range to another. The mapFloat function is inside the MapFloat library.
This library is based on the Arduino Map Function.
Here is a link to the reference of Arduino Map Function.
https://www.arduino.cc/reference/en/language/functions/math/map/
Installing the MapFloat Library
Download the MapFloat Library from RadishLogic’s Github repository.
https://github.com/radishlogic/MapFloat
Clone or Download >> Download ZIP. This will download the file MapFloat-master.zip.
Unzip the MapFloat-master folder inside the zip file and paste it on the library folder where your Arduino IDE is installed.
Rename MapFloat-master folder to MapFloat only.
Restart your Arduino IDE.
Using the mapFloat function
Once you have installed the MapFloat Library you may now use the mapFloat function on your code as long as you add #include “MapFloat.h” at the top of your code.
Note: the MapFloat Library only contains a function. No instantiation of a class needed.
y = mapFloat(x, 12.345, 89.67, 1000.23, 2512.45);The mapFloat function also acts like the Arduino map function but can handle floating point numbers.
Function name: mapFloat
Parameters:
- value (float)
- fromLow (float)
- fromHigh (float)
- toLow (float)
- toHigh (float)
Return: float – re-mapped value.
Example
This .ino file can be accessed in Arduino via File >> Examples >> MapFloat >> MapFloatExample.
#include "MapFloat.h"

void setup() {
  Serial.begin(115200);   // Initialize Serial
  while(!Serial);         // Wait for Serial connection
}

void loop() {
  float input, output;

  input = 32.5;
  output = mapFloat(input, 0.0, 100.0, 0.0, 1000.0);
  Serial.println(input);
  Serial.println(output);
  Serial.println("++++");

  input = 45.67;
  output = mapFloat(input, 0.0, 100.0, 0.0, -1000.0);
  Serial.println(input);
  Serial.println(output);
  Serial.println("++++");

  input = 321.83;
  output = mapFloat(input, 0.0, 1000.0, 1000.0, 2000.0);
  Serial.println(input);
  Serial.println(output);
  Serial.println("++++");

  input = 563.09;
  output = mapFloat(input, 0.0, 1000.0, -1000.0, -2000.0);
  Serial.println(input);
  Serial.println(output);
  Serial.println("++++");

  input = 743.88;
  output = mapFloat(input, 32.76, 1023.32, 3212.32, -5212.978);
  Serial.println(input);
  Serial.println(output);
  Serial.println("++++");

  while(true);
}
I hope this Library helps on your projects.
If there are any errors, questions or suggestions that you can give me about the mapFloat library kindly comment below or send me a message via our contact page.

muchasssss graciassssssss ¡¡¡
You’re welcome!
You solved all my problems
I’m very glad to have helped Martynas! ^_^
thanks
Great solution, which helps a lot to regain float values in e.g., humidity applications! I am using the ESP8266 unit with BME 280 sensor. Should be published more visible on Arduino Forum sites?!
If using the normal map function, multiply your number by 100 and the mapping parameters also. When it returns, divide by 100 to get your two decimal places for instance.
Programming on an at tiny 85 avr, I try to stay with integer math to save memory.
Works like a charm, really simplifies things, many thanks!
Is mapfloat library is fully compatible with esp32? I have installed it working fine but it is available under incompatible. Is it safe to use? What about its results?
Hi Ali, yup! This library can be used with ESP32.