
This is a tutorial on how to change the hostname of your Raspberry Pi.
If you usually do an IP Address scan whenever you connect your Raspberry Pi to a new WiFi network to find it then you should change the hostname of your Raspberry Pi. This is for you not to get confused when there are two Raspberry Pi’s connected to the network. At least you an select the right Raspberry Pi.
Just so you know the default hostname of the Raspberry Pi is raspberrypi.
Changing the Hostname of your Raspberry Pi
There are two ways to change this.
Via Desktop (Pixel): Changing the Hostname
Go to Raspberry Pi Configuradion (Menu >> Preference >> Raspberry Pi Configuration)
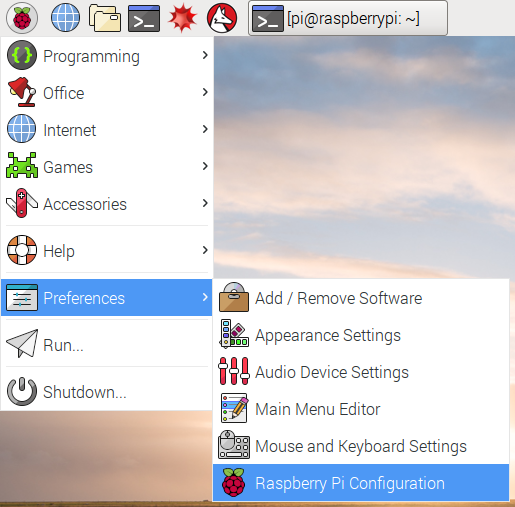
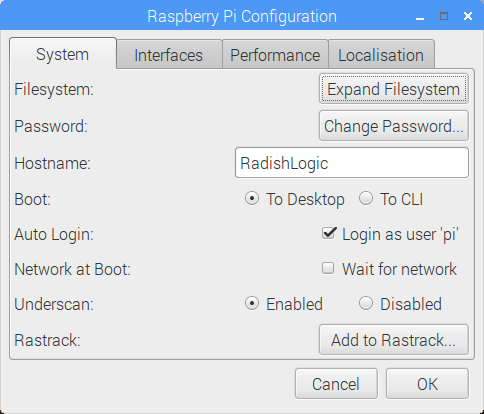
Once you click on the Raspberry Pi Configuration, a window will appear with different settings. Check the Hostname on the System Tab.

<strong>raspberrypi</strong> is the default hostname. To check just simply change the hostname and click <strong>OK</strong>.
For this example I changed my hostname to RadishLogic.
Then it will alert that you need to restart your Raspberry Pi for the changes to take effect. Click <strong>Yes</strong>.
Once your Raspberry Pi has finished rebooting go to Raspberry Pi Configuration again and see that your hostname is now changed.
And you have changed your Raspberry Pi’s hostname via GUI (Graphical User Interface)
Via command line (ssh or Raspbian Lite)
If you are either running Raspbian Lite or are connected to your Raspberry Pi via SSH you can follow the steps below.
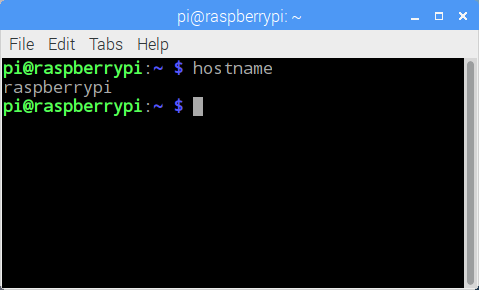
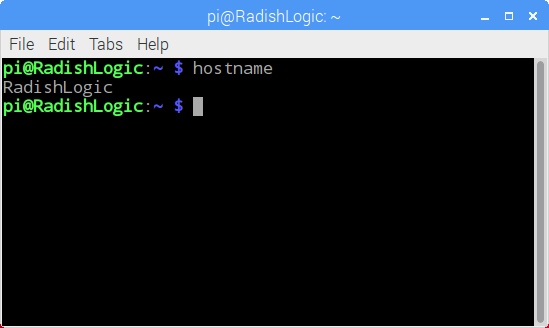
You can easily see the current hostname by checking on the command line.

If you do not believe me run the command <strong>hostname</strong> on the terminal.
hostname
To change the hostname of your Raspberry Pi via Terminal run the command
sudo nano /etc/hosts
The lists of your hosts will look like this.
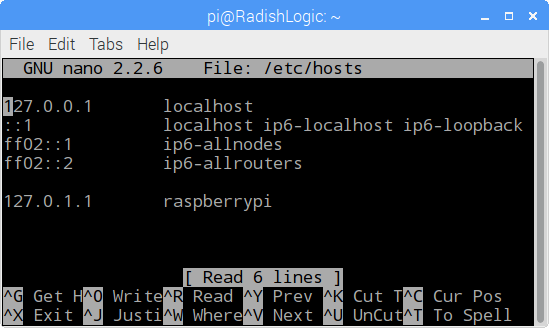
On the entry with the IP Address of 127.0.1.1, change <strong>raspberrypi</strong> to your desired hostname. For this example I will be changing it to RadishLogic.
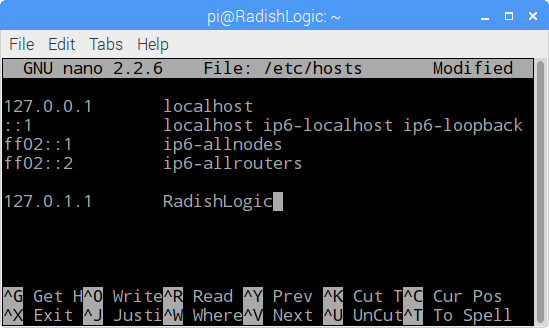
Exit (Ctrl + X). Then press Y to save. Press Enter to complete the changes.
Then run this command.
sudo nano /etc/hostname
Nano text editor will be opened.
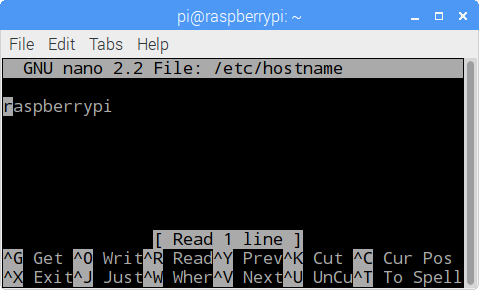
The file only contains your current hostname (default is <strong>raspberrypi</strong>).
To change this edit the contents to your desired hostname.
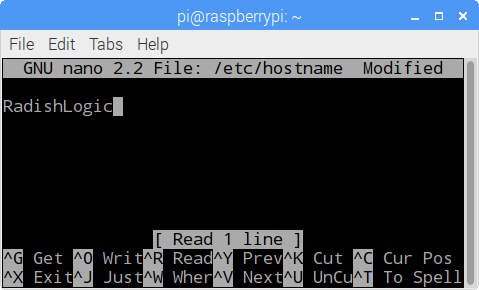
Exit (Ctrl + X). Then press Y to save. Press Enter to complete the changes.
Run the following command to proess the change in your hostname.
sudo /etc/init.d/hostname.sh

Restart your Raspberry Pi.
sudo reboot
When your Raspberry Pi finishes reboot you can check if the hostname has been changed by running the <strong>hostname</strong> command.
Now that you have changed your hostname it is time to change your user and password.
Tell me what you think in the comments below.