Here is a tutorial on how you can setup Raspberry Pi without a mouse or a keyboard.
Most of us today only have laptops. We do not own a monitor nor a keyboard. But that should not stop you from trying Raspberry Pi. You can actually setup and use a Raspberry Pi without the monitor or a keyboard.
Note: I also find it annoying to setup a lot of wires just for the monitor and keyboard.
Here are the things you need to setup and use the Raspberry Pi without a screen or keyboard.
- Raspberry Pi
- microSD Card (minimum of 8GB)
- Ethernet Cable
- Power cable (standard USB cable for charging Android phone with charger)
- A computer
For this tutorial I’ll be using Raspberry Pi 3 and my computer is running on Windows 10. My SD Card size is 8GB. Maybe I’ll create a tutorial when I am using my Ubuntu (Linux).
Below are the steps to setting up your Raspberry Pi without a screen or keyboard.
1. Download Raspbian Image from Raspberry Pi Downloads.
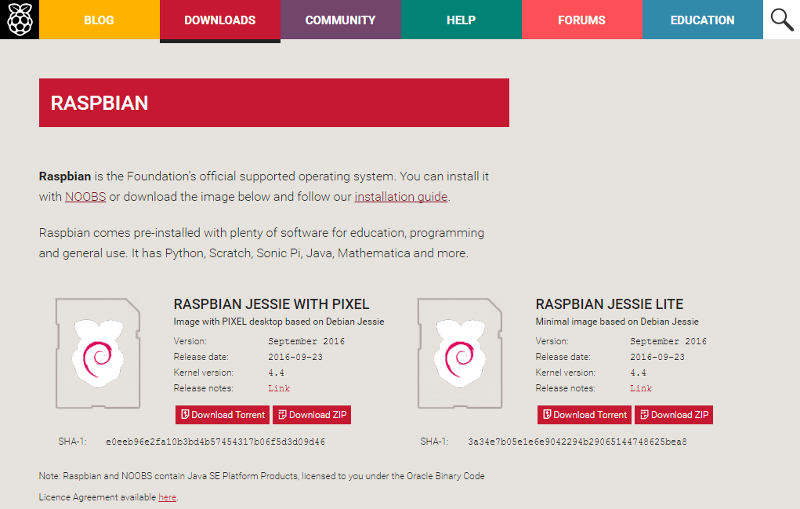
It’s up to you if you want to download the Raspbian Jessie with Pixel (desktop) or Raspbian Jessie Lite (for minimal installation).
For this example I will be using the Raspbian Jessie with Pixel. But if you want to install the Raspbian Jessie Lite the steps would be the same.
Note: The name Jessie changes for every major upgrade of Raspbian. The name before it was Wheezy.
You will be downloading a zip file (.zip).

Note: You cannot do the installation with a NOOBS installer since the NOOBS needs a screen for you to select an operating system for the Raspberry Pi.
After the download, unzip the image file (.img).

2. Insert SD Card and write the Raspbian image to it.
For writing the Raspbian Image I use Win32DiskImager.

Note: We tried writing onto a 64GB microSD Card using the Win32DiskImager and it ran smoothly on the Raspberry Pi using all the 64GB size of the microSD Card.
Run the Win32DiskImager. Select yes when Windows ask if you want the program from an unknown publisher (win32DiskImager) to make changes to the device (your computer).
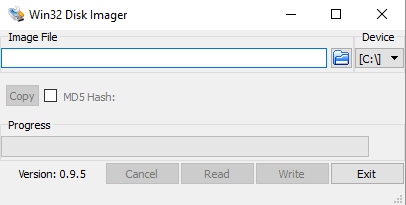
Select the drive of your SD Card. (Mine is Drive E:)
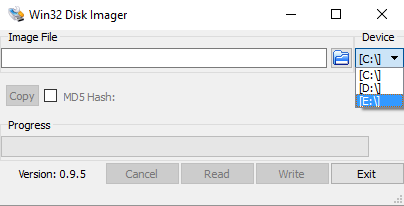
Select the Raspbian Image (.img) that you want to install by pressing the folder icon.
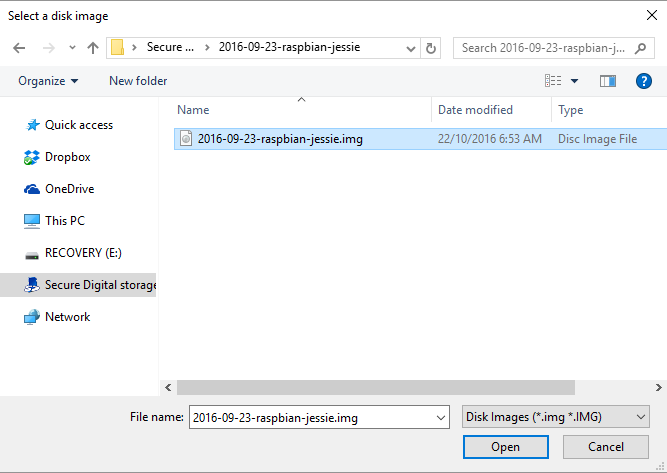
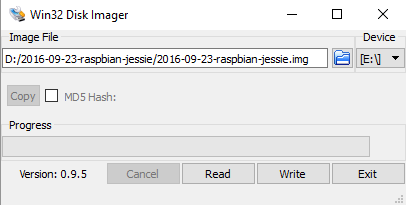
Then press Write.
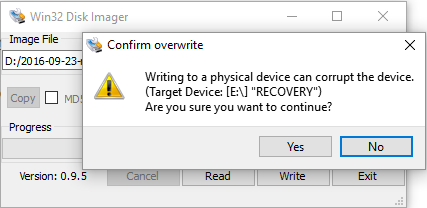
Then press Yes.
Be sure that you are writing on the correct Drive that is associated with your SD Card. This process can corrupt your computer when you write in the wrong drive.
Win32DiskImager will then start writing to your microSD Card the Raspbian Image that you have. Please be patient for this one.
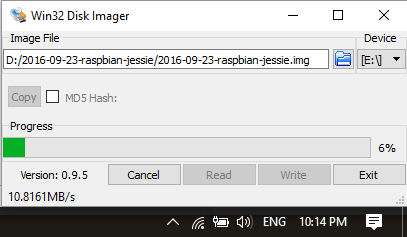
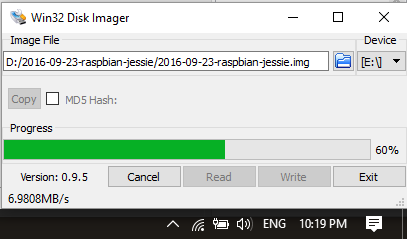
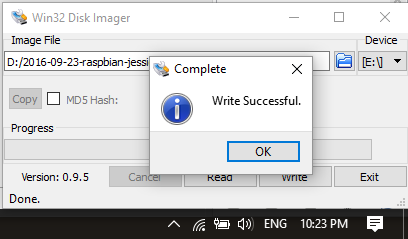
Press OK when alerted that the write is successful.
Close Win32DiskImager and Safely Remove your microSD Card.
3. Running Raspberry Pi for the first time.
Insert the microSD Card to its slot on the bottom of the Raspberry Pi.
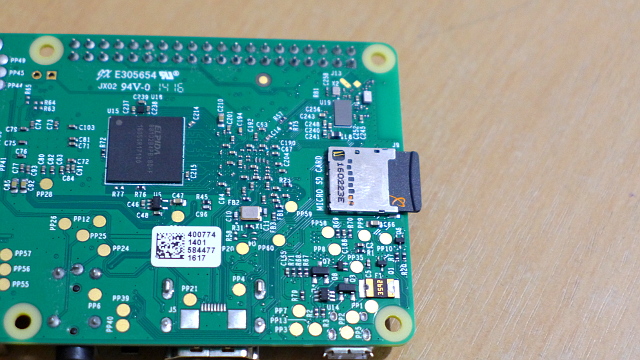
Turn on the Raspberry Pi by plugging it in with the Power Supply (Android charger).
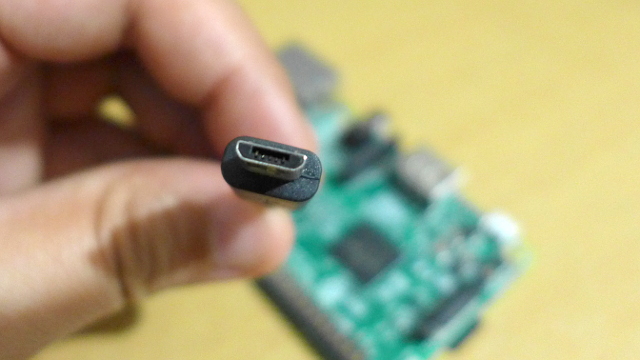
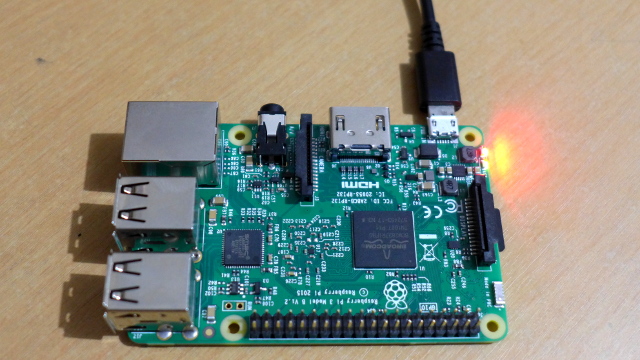
The Raspberry Pi will turn on. Red light indicates that the Raspberry Pi is powered on. Blinking Green light indicates that the Raspberry Pi is processing.
Now that the Raspberry Pi is up and running how can we connect it to the WiFi Network or let it do some process? We cannot control it yet!!!
That’s where the Ethernet Cable comes in.
4. Communicate with the Raspberry Pi using the Ethernet Cable.
Connect your Ethernet Cable to the Raspberry Pi and your computer.
You can also connect your computer and a Raspberry Pi with a router as long as the Raspberry Pi is connected via Ethernet Cable (LAN Cable).
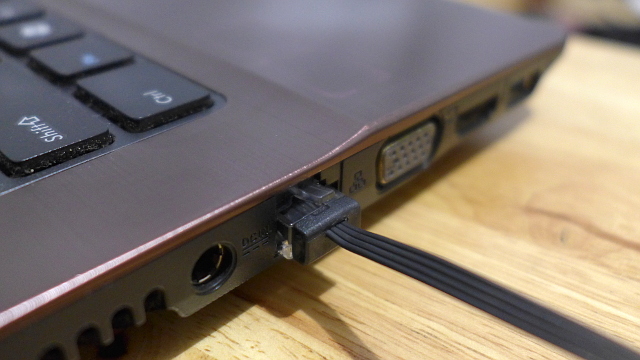
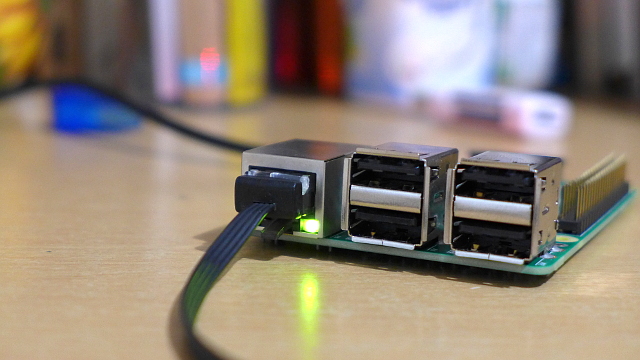
Find the IP Address of the computer that you are using by using Windows Command Line or Git-Bash.
I use Git-Bash because I could use windows commands and some linux commands on a Windows computer, and do SSH (Secure Shell) connection with it. Plus it has a portable edition.
To find the IP Address of your computer run the command <strong>ipconfig</strong>.

Get the IPv4 Address under Ethernet adapter Local Area Connection.
In this case my computer’s IP Address is 169.254.74.1. (Take note of your IP Address, we will be using this).
Next would be to find the IP Address through the local area network (LAN) using PortScan.
Note: You can use other IP Scanners if you want. I just use PortScan because I like how easy it is to use. Plus it’s a non-installable program (portable).
Run Port Scan and set the following parameters.
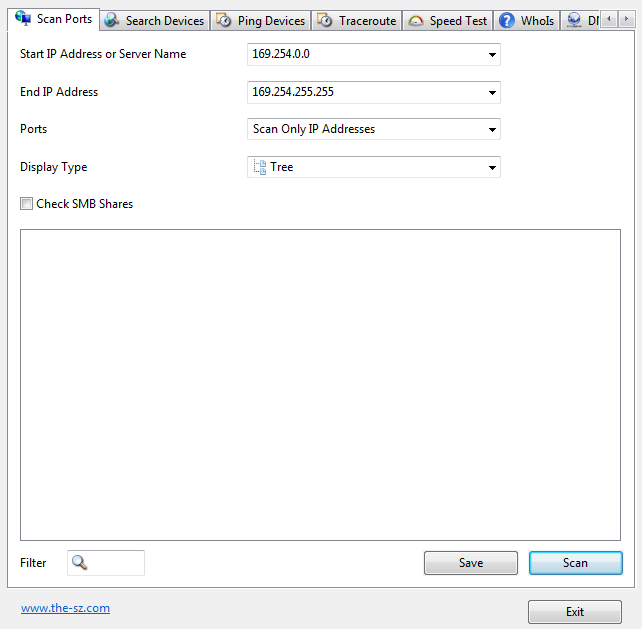
- Start IP Address:
169.254.<strong>0.0</strong> - End IP Address:
169.254.<strong>255.255</strong> - Ports:
Scan Only IP Address
Notice that I only used the first two number of my local IP Address? 169.254……. I set the Start to the lowest of the 3rd and 4th numbers (0.0). Then I set the End to the highest (255.255).
Note: This setup might not work if you connect via an router. I would recommend connecting your Raspberry Pi directly to your computer.
Then press Scan.
PortScan will look for the computers (including the Raspberry Pi) connected on the same network that has an IP Address within the Start and End IP Addresses.
The IP Address Scan might take a while. There was a time that I ran it for about an hour before I got the IP Address of my Raspberry Pi. If you are lucky then you will get the address of your Raspberry Pi early.
After one coffee break, a long bath and a lot of waiting I have finally found the IP Address of my Raspberry Pi.
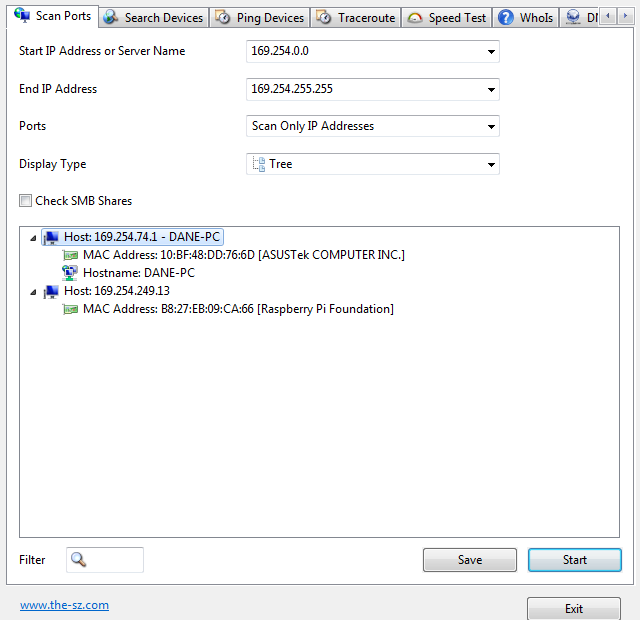
<strong>169.254.249.13</strong>
Now I can connect via SSH (Secure Shell) or SFTP (Secure File Transfer Protocol).
- SSH: Git-bash (ssh pi@169.254.249.13)
- SFTP: FileZilla (169.254.249.13)
Note: The default username and password of the Raspberry Pi are as follows.
- Username:
pi - Password:
raspberry
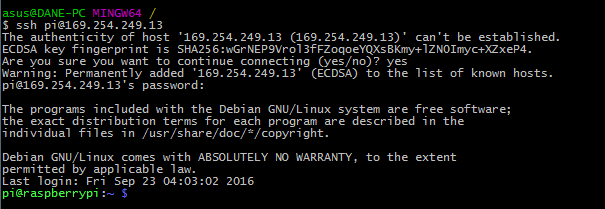
Once connected you can now do the following.
- Expand the filesystem of my Raspbian Installation to the maximum of what the SD Card can have. Important!
- Change the name of my Raspberry Pi.
- Change the user of my Raspberry Pi.
- Change the password of my Raspberry Pi
- Add and remove files (SFTP).
- Install and update programs.
- Code and run programs (Python, Java, C, omxplayer, etc.)
If you have a better way of installing and controlling the Raspbian on the Raspberry Pi kindly tell us via the comments section below or by using our contact page.
Well, I follow almost the same procedure, except I used zenmap for port scanning.
Nowadays with wifi enabled, we can edit a file in SD card to store our wifi credentials and make it connect to our router right away.
I assume you want to port scan every time you connect in order to ssh into system. The very first time I connect, I change to hostname to something and install avahi-daemon package, this runs a link-local DNS. So that next time I want to connect from my LAN, I just have to use .localhost to connect to it.
Note: In Windows, you have to run some software like Apple Bonjour in order to resolve link, local hosts. Linux and Apple support natively.
Thanks Karthik. Unfortunately, Raspberry Pi by default disabled access to Port 22 (SSH port).
Initial setup now requires a monitor.
In a simple setup like this i believe that just doing a “arp -a” just after the pi’s netcard go active would show the ip for the raspberry, but i didn’t try.
No need for scanning .0.0 (network), .255,255 (broadcast) nor .255.254 (multicast).
Even beeing just a little, it should save some time. 🙂
For ssh to be activated, try creating a file named “ssh” in the root of the boot partition after the image is written to SD.
Hi KED, Raspberry Pi OS (Raspbian) has updated their base image and no longer has SSH turned on by default. Will look into your suggestion of creating a file named “ssh”. Thank you so much for this info. 🙂