There are two ways to install Gizduino in the Arduino IDE. One I have already written here, and the next method is written on this post. Personally, this is my favorite method of installing Gizduino as it shows a better description in selecting the Gizduino Boards in the Boards Menu.
Note: The steps below can also be used for Windows 7 and Windows 8.
If you are wondering how to install Gizduino in Windows then just follow the steps below.
1. Install the latest version of the PL2303 Prolific Driver for Windows
http://www.prolific.com.tw/US/ShowProduct.aspx?p_id=225&pcid=41
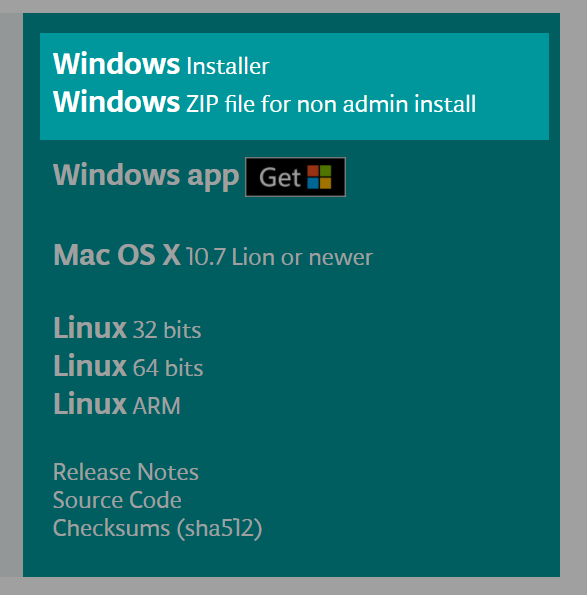
2. Download and Install the latest Arduino IDE release
Link to the Arduino Software: https://www.arduino.cc/en/Main/Software
Author’s Notes:
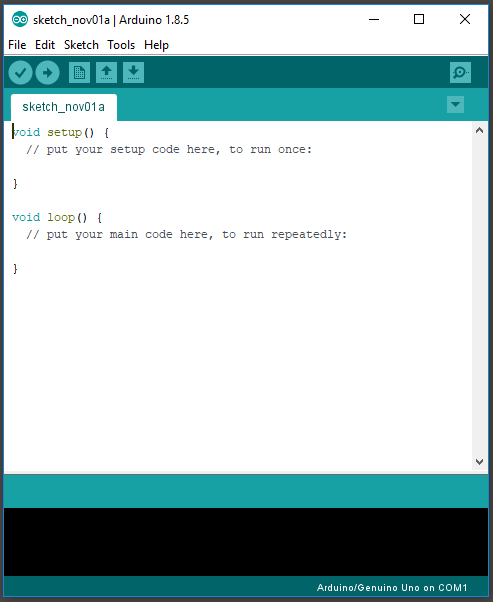
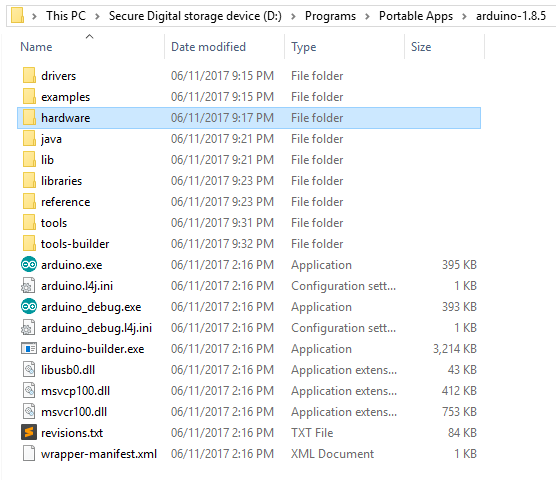
As of writing the latest Arduino IDE is 1.8.5. I prefer to download the non-install version (160 MB download). Just unzip on your preferred location on your drive, run the arduino.exe and wait for the Arduino IDE to initialize.
When unzipped it occupied around 399 MB of space in your drive. Then you can delete the zip file once unzipping was finished.
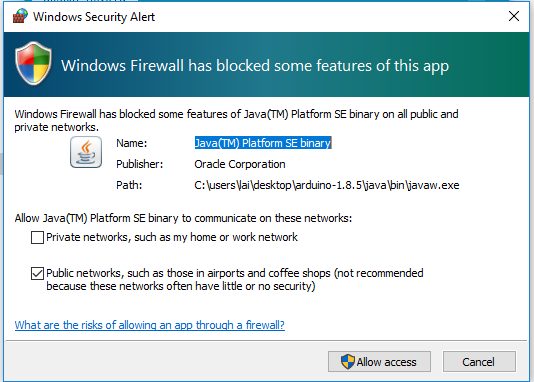
If you are prompted by the Windows Firewall press Allow Access. The Arduino IDE needs to get past the Windows Firewall to connect to the internet to update libraries and board managers.
3. Download and Extract the Gizduino Patch Files
Download the Gizduino Patch zip file on the link below.
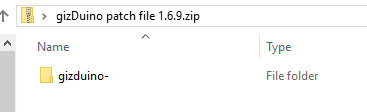
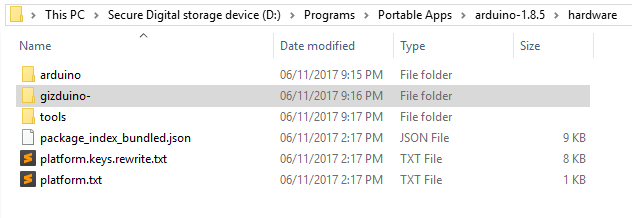
Once downloaded, copy the gizduino~ folder inside the zip file into the hardware folder of your Arduino IDE installation.
Author’s Note:
There are guides that instructs users to download an avr folder and paste it somewhere in the Arduino IDE folder, please DO NOT do this. I have tried doing this before but it would make the compilation of for the Gizduino boards raise an error. Therefore, I no longer paste the avr folder.
The pasting of the gizduino~ folder is enough for the compilation and uploading of your program to Gizduino Boards.
4. Restart the Arduino IDE
This is for the Arduino IDE to also load the Gizduino Boards when it runs.
5. Check for the Gizduino Boards in the Boards Menu
Go to Tools >> Board: ***. You may have to scroll down to the bottom of the list.
Check if the Gizduino AVR Boards exists.
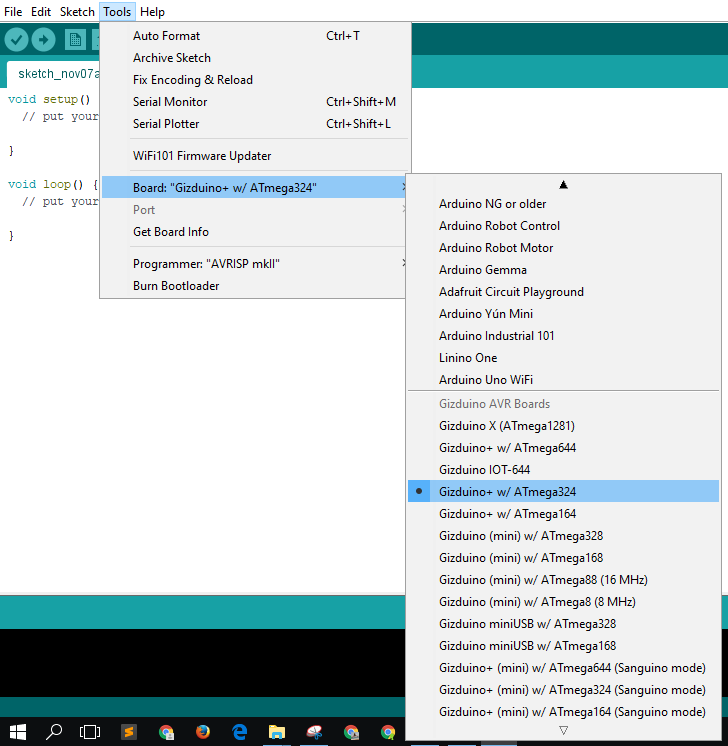
If the Gizduino AVR Boards section exists then you have successfully installed the Gizduino Patch to your Arduino IDE.
You may now use your Arduino IDE to program the different Gizduino Boards.
I’ll be writing about how to program a Gizduino Board in the near future.