Gizduino Installation in Windows 10

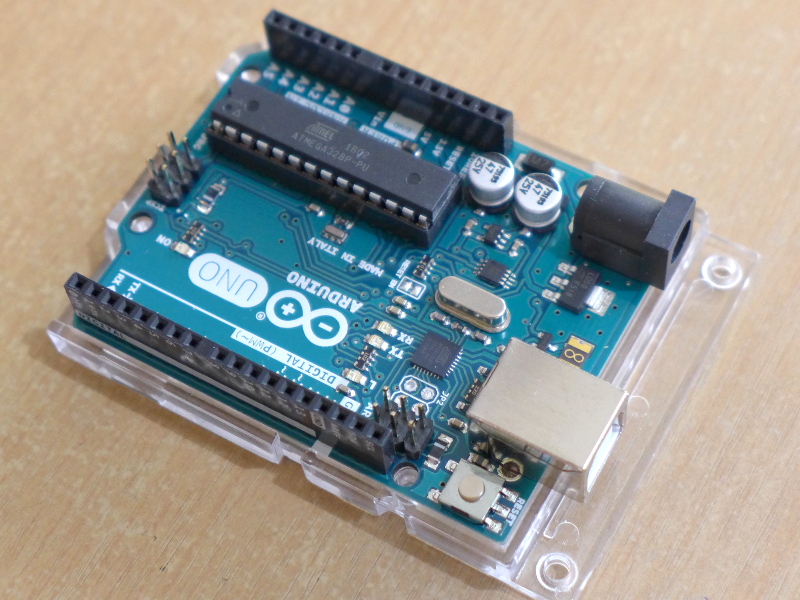
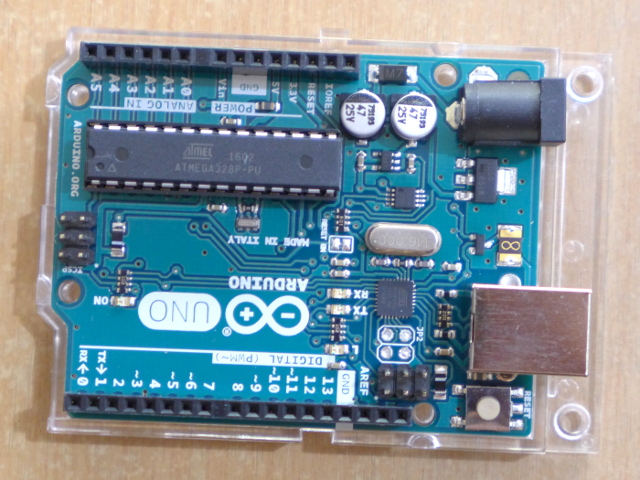
I have my own Arduino Uno but most of the time I use a Gizduino since this is cheaper and easier to source here in the Philippines.

  • Arduino Uno (1,299 Pesos)
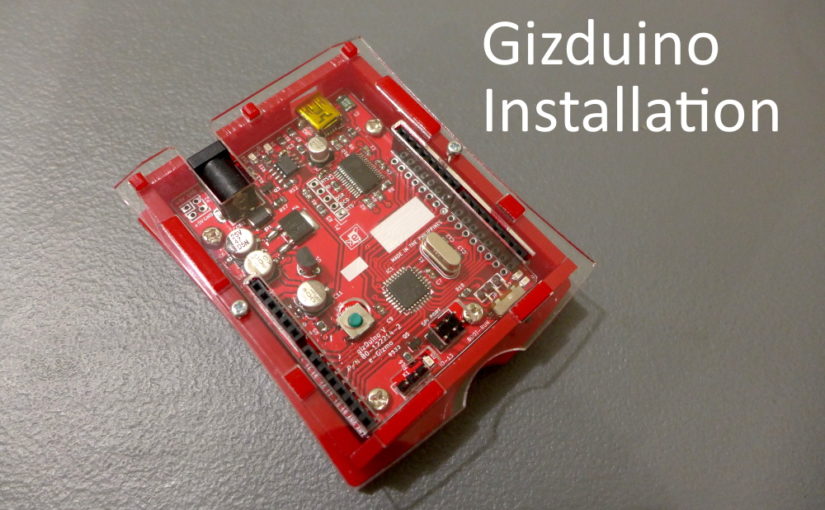
  • Gizduino+ mini with ATmega328 (735 Pesos)

If you are looking for a Gizduino you may purchase them in the e-Gizmo website (https://www.e-gizmo.net/)

To use the Gizduino, you will need to install the Arduino IDE to your Operating System and install the Gizduino Boards. Below are the steps for Gizduino Installation.

Author’s Note: The installation method below also works for Windows 7 and Windows 8.

1. Install the latest version of the PL2303 Prolific Driver for Windows

http://www.prolific.com.tw/US/ShowProduct.aspx?p_id=225&pcid=41

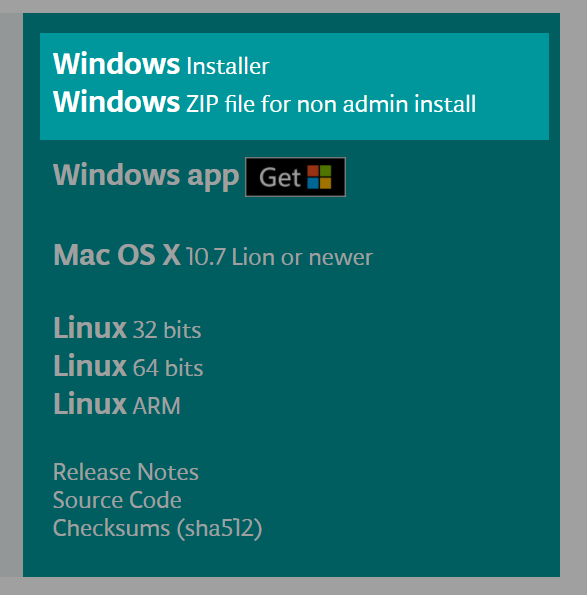
2. Download and Install the latest Arduino IDE release

Link to the Arduino Software: https://www.arduino.cc/en/Main/Software

Author’s Notes:

As of writing the latest Arduino IDE is 1.8.5. I prefer to download the non-install version (160 MB download). Just unzip on your preferred location on your drive, run the arduino.exe and wait for the Arduino IDE to initialize.

When unzipped it occupied around 399 MB of space in your drive. Then you can delete the zip file once unzipping was finished. Continue reading Gizduino Installation in Windows 10

In Photos: Adafruit Circuit Playground Classic

We have recently purchased an Adafruit Circuit Playground. I was really excited to finally able to hold it as it is a small board packing with a lot of features. Some of the features I have not used yet.

Here are the list of features of the Adafruit Circuit Playground.

  • Board Dimension: 50.6mm (2.0 inches) in diameter
  • Weight: 8.5 grams
  • ATmega32u4 Processor (3.3V, 8MHz)
  • MicroUSB for programming and debugging with Arduino IDE and power
  • USB port can act like serial port, keyboard, mouse, joystick or MIDI
  • 2 pin JST port for Power (3-6V)
  • 10 mini NeoPixels (each can display any color)
  • 1 Motion Sensor (LIS3DH triple-axis accelerometer with tap detection, free-fall detection)
  • 1 Temperature Sensor (thermistor)
  • 1 Light Sensor (phototransistor)
  • 1 Sound Sensor (MEMS microphone)
  • 1 Mini Speaker (magnetic buzzer)
  • 2 Push Buttons
  • 1 Slide Switch
  • 8 alligator-clip friendly input/output pins (pads)
  • Includes I2C, UART, and 4 pins that can do analog inputs/PWM output
  • All 8 pads can act as capacitive touch inputs
  • Green Power LED
  • Basic Blinking LED (#13)
  • Reset button

This post is about being up close and personal with the Adafruit Circuit Playground so here are the photos that you have been looking for.

If you are interested in buying the Adafruit Circuit Playground you may purchase this by buying it directly from Adafruit here.


Continue reading In Photos: Adafruit Circuit Playground Classic

In Photos: Adafruit microSD Card Breakout Board+

I recently bought an Adafruit microSD Card Breakout Board+ since I wanted to try logging projects.

I had a hard time imagining how the microSD Card Breakout Board would fit physically into my project so I decided to create this post just in case you want to see close up photos of the breakout board.

Packaging

Continue reading In Photos: Adafruit microSD Card Breakout Board+

In Photos: Arduino Uno Revision 3

I recently bought an Official Arduino Uno for me to do some prototyping projects.

So far I have done a lot of projects with my Arduino Uno and decided that it would be helpful if there are up close and personal photos of the Arduino Uno Revision 3 that is why I am creating this post.

Top side

Continue reading In Photos: Arduino Uno Revision 3

In Photos: Raspberry Pi Official Casing (Red and White)

I just bought the official casing of Raspberry Pi and I am very happy with it.

I always bringing my Raspberry Pi 3 inside its box for extra protection from being crushed inside my bag. Then I realized that sometimes I would like to use my Raspberry Pi inside coffee shops or in public places where I can work.

Having a bare Raspberry Pi board would make people doubt what you are doing since you are have an electronic board with you. Embarrassing if people would glance at you thinking that you are doing something bad. Seriously bad if a guard or police would approach you. These are the reason why I bought my case. Continue reading In Photos: Raspberry Pi Official Casing (Red and White)

Raspberry Pi: Changing the Hostname

This is a tutorial on how to change the hostname of your Raspberry Pi.

If you usually do an IP Address scan whenever you  connect your Raspberry Pi to a new WiFi network to find it then you should change the hostname of your Raspberry Pi. This is for you not to get confused when there are two Raspberry Pi’s connected to the network. At least you an select the right Raspberry Pi.

Just so you know the default hostname of the Raspberry Pi is raspberrypi.

Changing the Hostname of your Raspberry Pi

There are two ways to change this.

Changing the hostname of the Raspberry Pi
My Raspberry Pi on desktop setup.

Continue reading Raspberry Pi: Changing the Hostname

Raspberry Pi: Installing Raspbian Without a Monitor or Keyboard

Here is a tutorial on how you can setup Raspberry Pi without a mouse or a keyboard.

Most of us today only have laptops. We do not own a monitor nor a keyboard. But that should not stop you from trying Raspberry Pi. You can actually setup and use a Raspberry Pi without the monitor or a keyboard.

Note: I also find it annoying to setup a lot of wires just for the monitor and keyboard.

Here are the things you need to setup and use the Raspberry Pi without a screen or keyboard.

  • Raspberry Pi
  • microSD Card (minimum of 8GB)
  • Ethernet Cable
  • Power cable (standard USB cable for charging Android phone with charger)
  • A computer

For this tutorial I’ll be using Raspberry Pi 3 and my computer is running on Windows 10. My SD Card size is 8GB. Maybe I’ll create a tutorial when I am using my Ubuntu (Linux).

Below are the steps to setting up your Raspberry Pi without a screen or keyboard.

1. Download Raspbian Image from Raspberry Pi Downloads.

Raspbian Download Page - Setup Raspberry Pi without a Monitor or Keyboard

It’s up to you if you want to download the Raspbian Jessie with Pixel (desktop) or Raspbian Jessie Lite (for minimal installation).

For this example I will be using the Raspbian Jessie with Pixel. But if you want to install the Raspbian Jessie Lite the steps would be the same.

Note: The name Jessie changes for every major upgrade of Raspbian. The name before it was Wheezy. Continue reading Raspberry Pi: Installing Raspbian Without a Monitor or Keyboard

Raspberry Pi: PWM in GPIO (Python)

This is a tutorial on how to implement Pulse Width Modulated (PWM) in Raspberry Pi 2 and 3 using Python.

Since the Raspberry Pi 3 uses the BCM2837 and currently I could not find the specification sheet of BCM2837. I shall assume that the GPIO for the BCM2837 and the BCM2835 (Pi 2) are the same since the Pi 2 and Pi 3 Model B looks the same. I will use the Specification Sheet of the BCM2835 for reference.

I’ll check slowly check if there’s a difference among the two in terms of GPIO.

Raspberry Pi PWM

Continue reading Raspberry Pi: PWM in GPIO (Python)